
This bathroom is as plain and simple as they come. It has two sinks (perfect for the kids) and a separate spot for the tub/shower. When we moved in, we were pleasantly surprised with the condition of the bathroom (shower tiles and grout were in great condition, sinks in double vanity weren’t too worn, etc.). This was a huge perk because usually a home with 20+ years of use shows it a lot more than this one did!
I’ve done some updates on this bathroom that have made it function better for us, but still have lots that I would eventually love to do.
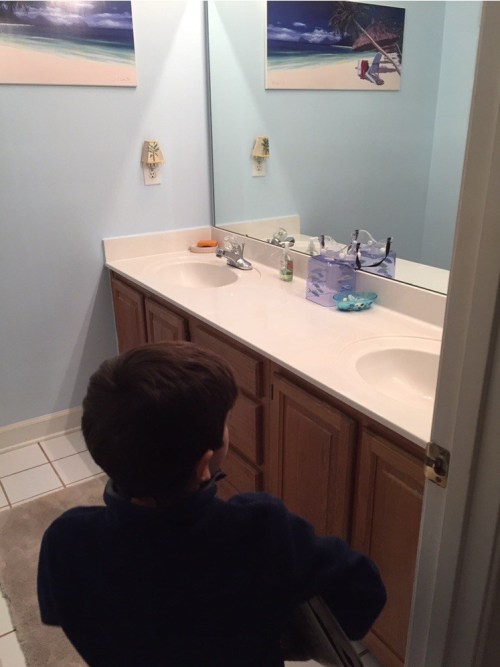
This picture is from the inspection day. It makes me smile and cry at the same time (look at how little the kids are!). It was painted light blue, which of course the boys loved, because GO TARHEELS! The kiddos were squeezed into a tiny bathroom at our last house, so this bathroom felt like so much space! Walking into the bathroom from the hallway, the double vanity is on your right.
  And to the left is a doorway that leads to the bathtub, toilet, and closet.
 There were initially 2 doors that kind got in the way here (read: lots of little fingers just waiting to get smashed), so I took off the door to the actual room. At this age, the kids don’t really care much about privacy and one less door makes this space more practical for us.
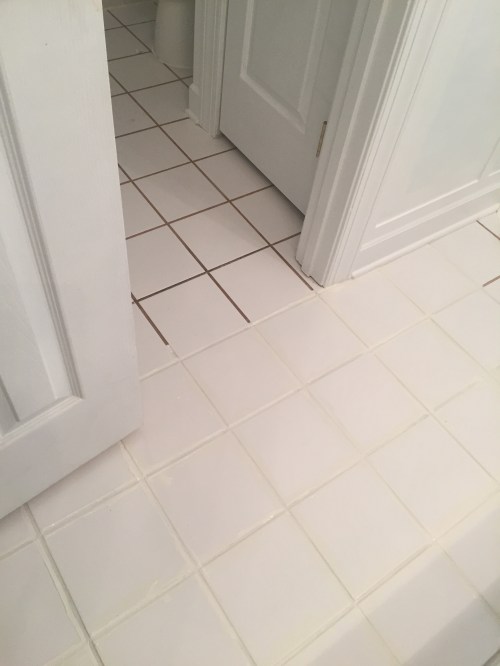
The first thing I did was paint the grout on the floor tile. Have you ever even heard of that? I hadn’t either. But it’s a thing. And it’s a thing that made a gigantic difference! The process was pretty easy and it has held up really well. It’s been almost 2 years, and there is no wear and tear. Think of it as applying paint with a toothbrush. If you can do that, you can do this. Granted, it’s tedious, and this bathroom is small, so I could imagine a larger area being more difficult. Here’s what I used. And here is the website that I used to help me figure out how to do it.
Just an FYI, these close up pictures are taken before I wiped/scraped the excess paint from the tiles. It looks a little yellow-ed in these pictures, but doesn’t once it dries and the extra paint is cleaned off. I used one bottle for the bathroom and had about 1/4 of the bottle left. 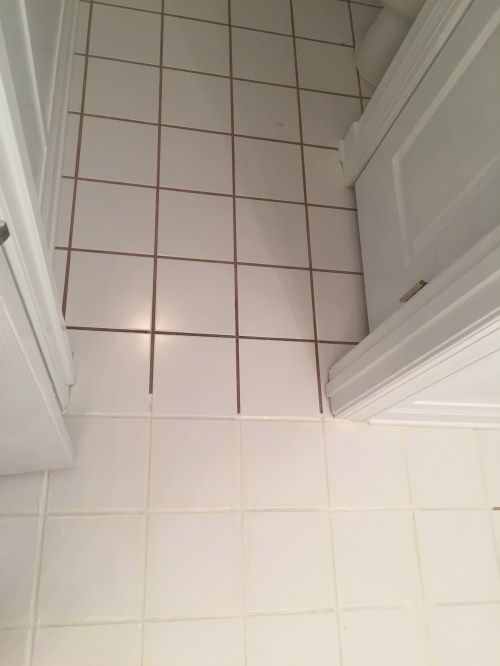
 You can also see in the pictures above that I started adding some trim work to the walls just to add a little interest in there. I did not get any great pictures of that, though. Who knew a few years later I would be starting a blog about the things I’m working on?!
For this, I did simple board and batten (I didn’t even take off the baseboards). I used this site to give me some how-to’s. A new nail gun that my daddy got me at the time made this job 10x easier. (And it could have been even easier than that if I didn’t have to run up and down the stairs about 400x to complete this job!) This would be a really good beginner’s project because it isn’t crazy difficult or time consuming, does NOT break the bank (it probably cost about $50-$60 total), and makes a big difference in the overall look of a room.
The next big change was painting the vanity- a much less daunting job than it seems. I know that one day we’ll have to swap out these floors (a bunch of tiles are warped and cracked) and will probably swap out vanity then, so I knew I wasn’t committing to these forever. That being said, I took the easy way out. I painted. That’s it. No sanding. No priming. Just paint. (And one thin coat of poly over top.) As I did it I really was wondering how terrible it would look in a month, but it has been about a year and half now and there is hardly any wear. And these kids are hard on this bathroom. I’d call that a success.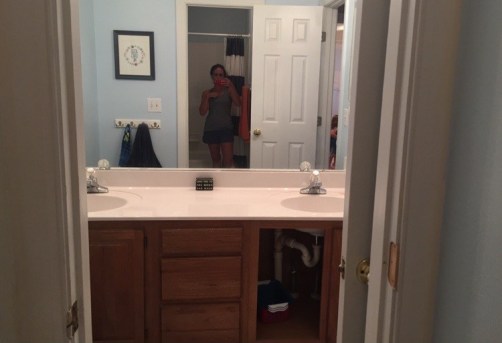
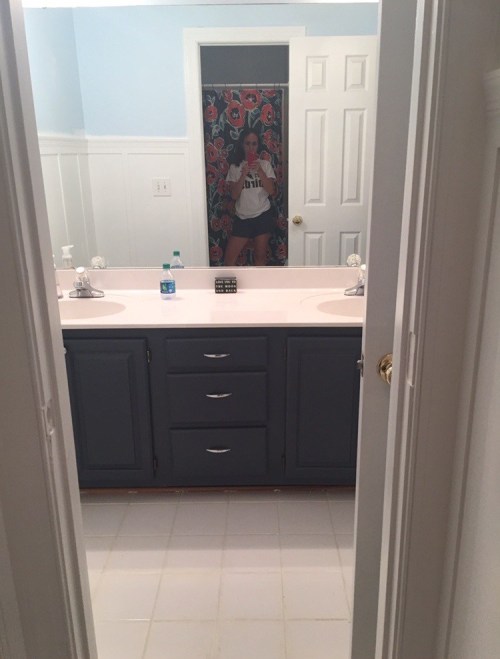
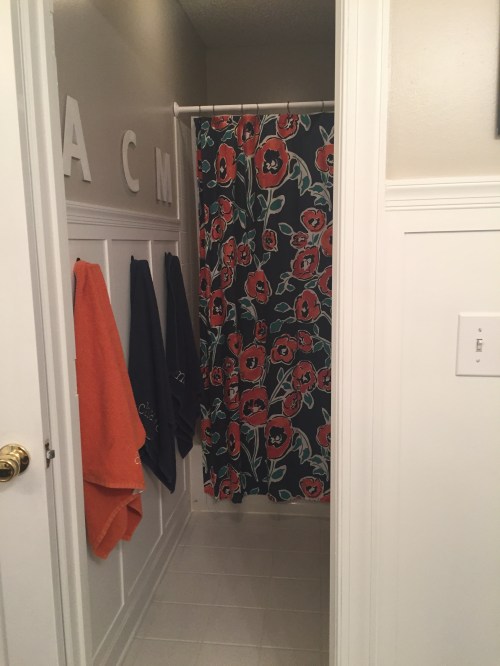
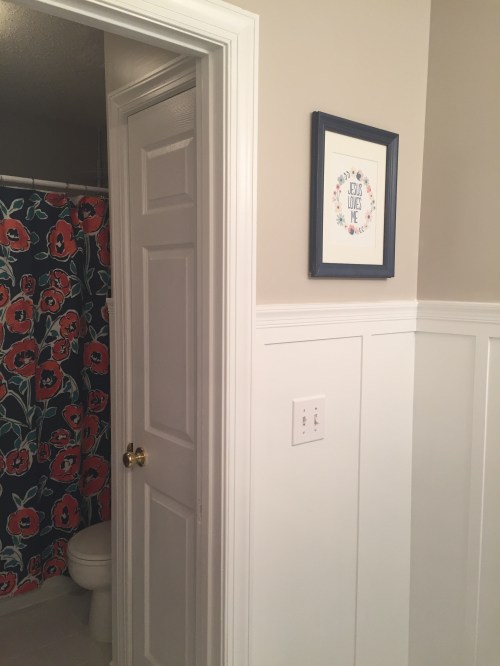
 Next up was some wall paint. There were a bunch of holes to patch anyway, so I just figured a fresh coat of paint wouldn’t hurt, right? I hung some letters for the kids’ names with some towel hooks and towels below them. I added a fresh shower curtain. And I hung a fun print on the wall.
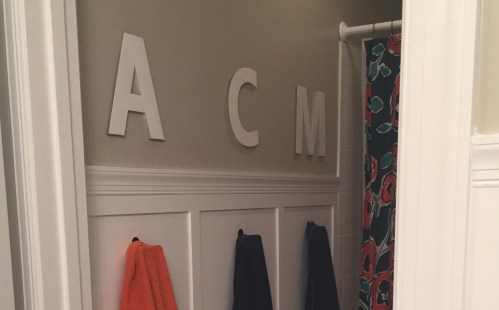
 Not a show-stopper of a bathroom, but it feels really fresh and clean and will stay this way a while.
Now, while it stays this way, you better bet I’ve got a little folder on my desktop labeled *KIDS BATHROOM IDEAS*. If you want to see some of my “one day” thoughts, keep scrolling…
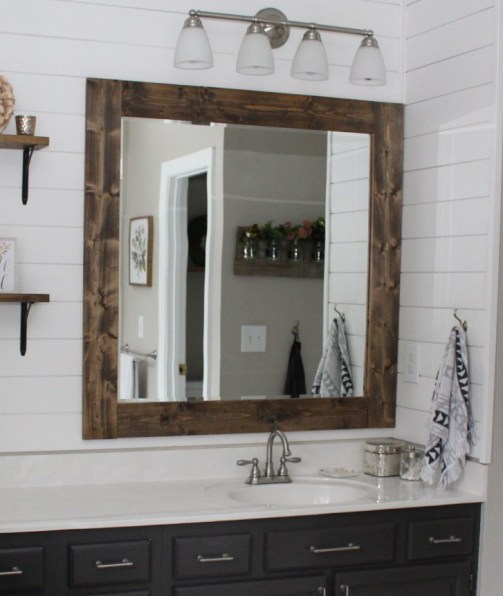
- Replace bathroom mirrors — make and hang 2 separate mirrors (something like these from our master bathroom)
2. Replace 2 light fixtures for something like this: 3. Take out that closet (it houses a few extra towels and cleaning supplies that can be relocated to the 4 giant empty cabinets under the sinks). Then I’d love to take that wall down, put in a pony wall, and move the toilet away from the tub a little. It’s pretty tight in there and as the boys get bigger, it would be nice to give them some extra space. I’m thinking something that looks sorta like this (keep in mind the bathroom configuration here is different than ours):
 4. Some kind of cool vanity. No idea what that is at this point?!
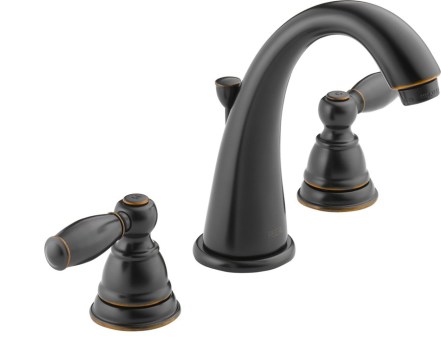
5. New faucets like this:
6. Ditch the mirrored medicine cabinet.
7. And some new tile. Like I said, the tile we have now has a bunch of cracks and bulges, so it is need of some TLC. Probably something simple, laid in a fun herringbone pattern, maybe like this:
Anyway, those are my thoughts in the early, early planning stages. It will be fun to see where I end up with this bathroom one day!
Click here to see before and afters of the bathroom and other rooms in the house!

Leave a comment