Let’s be honest. I had never even really heard of a butler’s pantry. I mean, what is that? A place where to you stand and make mixed drinks?! A catch-all for your kitchen stuff that doesn’t fit in the pantry?! I really had no clue. What I did know was that I liked the idea of added space. When we first saw the butler’s pantry, it was decked out in glass and mirror and even had a sink. It had a shiny black countertop with gold fixtures. And as you can see, it was fully stocked! It was all cleaned out by the time we moved in. Better, but still not quite my style.
 It sat just like this for a few months because I wasn’t sure what I wanted to do with it. I filled the cabinets below with extra kitchen stuff and figured I would probably put my china on the shelves eventually.
My dad and mom came to visit a few months later and, after helping with some family room shelves (stay tuned for those!), they offered to help me tackle this space. Yes, please! We started by taking down the glass and shelves. They were much easier for dad to get down than I was expecting. It actually all came down without any broken pieces. I listed all them all on craigslist for free and they were picked up within 3 hours. SCORE! We were left with this. Nice, huh? I had dad shut off the sink because we didn’t think we’d use one there. After all, there were TWO other sinks in the same vicinity- one in the kitchen and one in the laundry and mudroom. Plus, I really just wanted a countertop the entire way across. And my dad left all the fittings for the sink just in case we change our mind one day.
We removed the countertop and listed it on craigslist for free. It also was gone in a matter of hours!  Next, my dad built a thick, wood countertop to replace the old one.
Now, it was time for some measuring. The boys were a really big help, writing some notes on the beat up dry wall as we planned for the next step. And there’s my daddy 🙂 One of the hardest working men I know…and the one whom I have learned everything about home renovating from. This guy can build any and everything! When you stand in the kitchen looking into the family room, you can see the bricked fireplace, so I thought it would be fun to add some faux brick to this wall too. It would really tie the rooms together. So, we purchased this faux brick from Home Depot and cut it down to size. Fire up the nail gun! Then I caulked some nail holes and filled the seams.
 I stood back and decided the colors of the brick weren’t quite right. So I grabbed some craft paint that I had upstairs and started mixing colors. I sponge painted the bricks one by one. Overall, I darkened the tone of the brick, took away a lot of red/pink and changed it to a browner tone to match the brick from the fireplace. If I wanted them to look like they were tied together, they had to actually match, right?!
Also, as you can see in the picture above, I chalk painted the cabinets (quick, EASY fix). I knew they’d eventually get painted with the kitchen cabinets, so this was a nice hold over until I was ready to do the entire kitchen.
Next, I stained the countertop my dad built with a dark wood stain.
I already had these Ikea shelf brackets from our old house and I wanted white shelves here, so I ordered these from Ikea and they were shipped and arrived a few days later. My dad had already measured and drilled holes for the brackets, so I quickly put the shelves in and added our china to the space. I really liked it! It was amazing how many people came through and thought it was real brick. SUCH a great improvement to the original space! It was a pretty cheap fix as well – I am pretty sure we spent a total of $40 for the brick panels. Later that fall, I painted all the cabinets in the kitchen (and repainted these to match) and changed out all of the hardware so it was all the same. Here’s a good picture of the kitchen and butler’s pantry in the same shot.
 I really liked it. What a big improvement! The only thing was, it may have seemed to tie together great in this picture, but in person, the longer I looked at it, the more it didn’t quite look right. I think maybe the kitchen countertops and the brick clashed. Because the kitchen countertops aren’t going anywhere, I started thinking about different options for the butler’s pantry. I was in no rush, so it stayed this way for over a year.
About a month ago, I was cleaning out the MESS that is our garage. I found a bunch of shiplap scraps from when we re-did our bedroom and bathroom. Could that work in the butler’s pantry?! I decided against it at first because the shelves were white and the kitchen was white and I thought that would be too much white.
But after I sat on it for a while, I realized that another thing that wasn’t quite right with the brick was that I was having a hard time adding things with color to the shelves. It always looked funny with the brick. So if it was all white, it could be more of a clean slate to easily add color, holiday things, flowers, etc.
After thinking about it for another 1.2 seconds, I got to work. I took down the shelves we had there and started to add the shiplap panels right on top of the brick. I did have to purchase a few more panels because I decided to wrap the side walls, and not just the back wall. I grabbed some new brackets from Home Depot, cut down some wood to size, and stained it for some new shelves. I decided to extend the shelves wall to wall this time (instead of floating) and it really opened up that space. It all looks a little bit wider and bigger. Crazy how a simple little change like that can make a difference.
I sent these two pictures to Jason during the day and here was his response. 
 He thinks I’m crazy. And he never knows what new project he is going to walk into when he comes home after a day of work. I like to think this is one of the many reasons he loves me. 🙂
I sanded down the countertop and stained it with a lighter stain to match the rest of the wood in the house. I painted the panels with White Dove (Benjamin Moore).
I like it so much better. Although I LOOOOOVED the brick (and eventually will show you another place I used it in the house), the white fits a whole lot better in this space. And now I have some flexibility of how I want to use it.
Here are some pictures of it all done.


 Which way do YOU like it best??


Check out the before and afters of the entire house here.
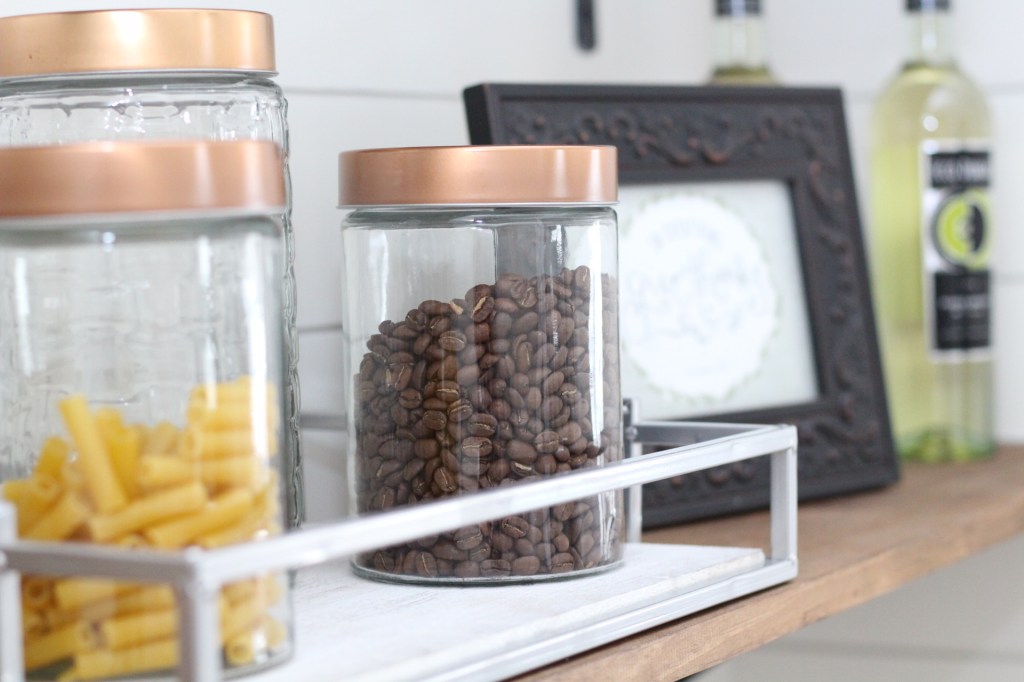
If you’re interested in purchasing shelves like the ones in this post, they are available in The Shop!

Leave a comment