The guest bathroom is finished!
I always underestimate how long a project will take to “finish.” It seems like everything is done, but my list of little things to fix/tweak is always like 20 items long and I really need a good 3 hours to hammer it all out. But, I also have 3 small kids, so unless I am working after bedtime, 3 consecutive hours of focused time is pretty non-existent. 🙂
I’m pumped to share some finished photos of this space with you! In case you’re just joining now, you can read how I painted the tile here, and how I stenciled the tile here. You can also check out another bathroom renovation I previously completed in this house.
I’ll tell you about some of the things I did in here quickly (besides the obvious tile painting and stenciling). All the sources will be at the bottom of the post if you’re interested.
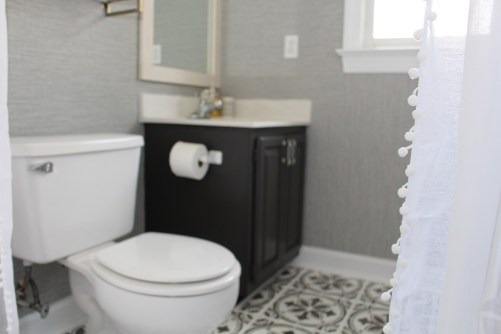
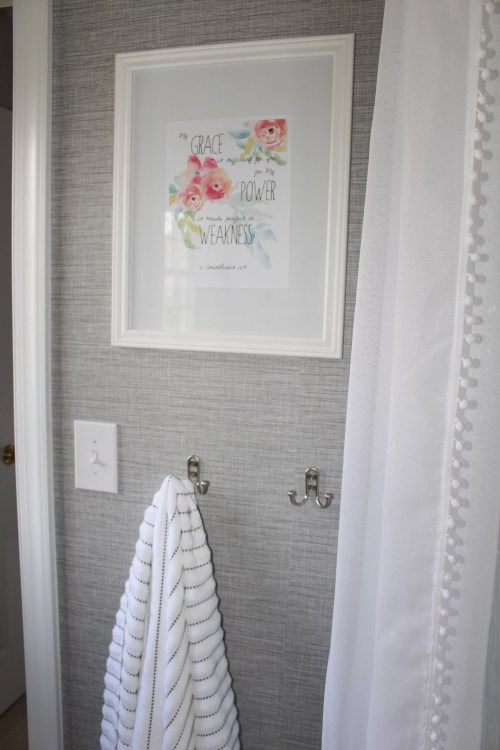
I painted the vanity and added hardware to the cabinets.  I patched the holes for toilet paper roll holder that was here and moved it over to the vanity. Then I added hooks for the towels.
  I changed out the light fixture! This was an easy fix. I wasn’t sad to see that old light fixture go and replace it with a new one.
  I took out the large mirrored medicine cabinet to the right of the sink. I will add a hand towel hook on this wall, but have not found what I want yet.
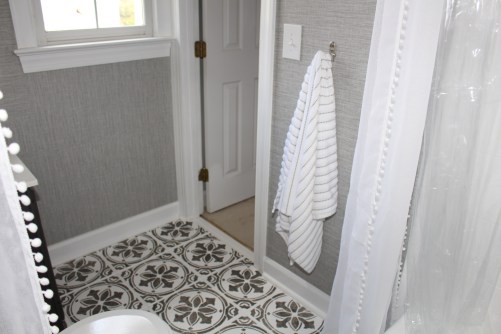
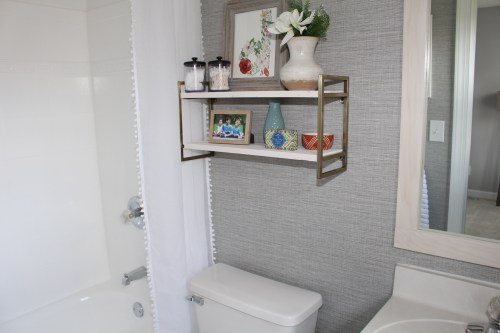
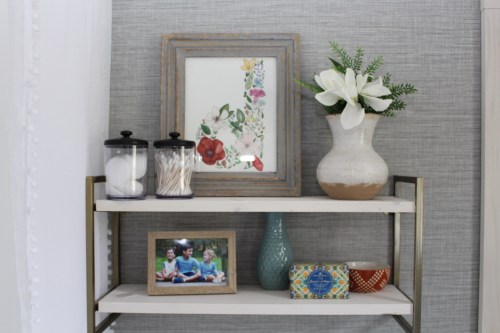
I couldn’t find a mirror that fit in this small space at my normal spots (read: Homegoods or Target), so I purchased a mirror from Home Depot and built a wood frame around it that I whitewashed. This was pretty simple to do and let me make it the exact size that I wanted. I will probably add a few L-brackets to the corners at some point for a little added detail. I already had this little shelving unit and really loved it. But the dark brown didn’t fit well. So when I did the wood for the mirror frame, I also did two new shelves to match. It made a big difference here.
  I also changed out the toilet seat. A Walmart purchase for $9.88 that makes a huge difference. The old one was was dirty and yellowed (probably from bleach since my boys don’t use this bathroom ha!). It is always nice to start with something fresh.
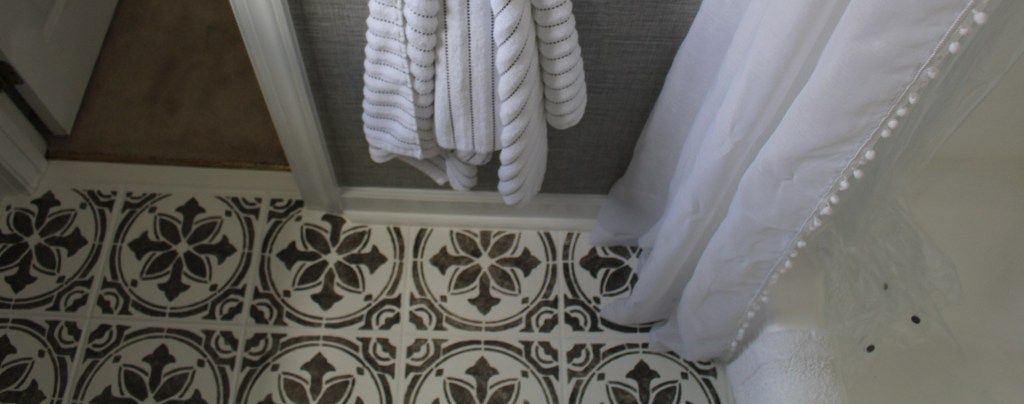
  As you might see in these pictures, I also added some removable wallpaper. I was trying to decide what to do with the walls, and I bought a role of wallpaper totally on a whim to try. I ended up loving it and going back for another roll to finish. It’s super easy to apply, can stick and unstick numerous times to fix any errors, bubbles, or crooked lines, and is pretty affordable. I used 2 rolls on sale at $29.88 a roll and I love the texture it adds to these walls. Something a little different than the normal paint job, ya know?!
The last thing I did that was really a “big bang for your buck” was raise the shower curtain. The average shower curtain sits at around 84″ and this is more like 96″. I actually bought two curtain panels and hung them on a tension rod to sit stationary on either side. Then the actual shower curtain is on a rod behind it, and it just pulls separately when you need it closed (like normal). Hanging the curtain high gives the illusion of taller walls and opens up the room a lot. It’s hard to get a good picture of how it looks in such a tiny bathroom though! Here’s the best I could get! Now for some full-room pictures! Let me remind you of how far we have come! This first picture is when we saw the house the first time.
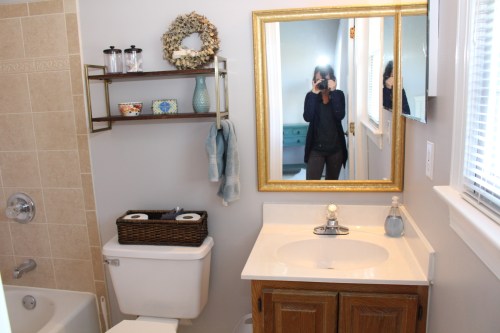
 Then the following pictures are from a few months ago, prior to any work being done (you can see those dark brown shelves here too).
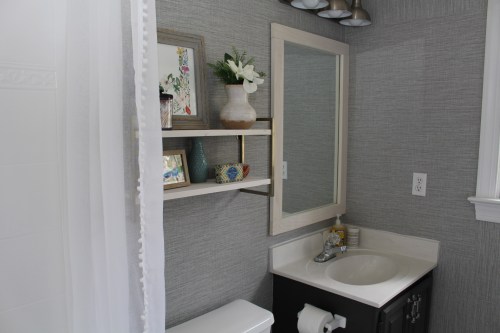
 And now for the “after” pictures.
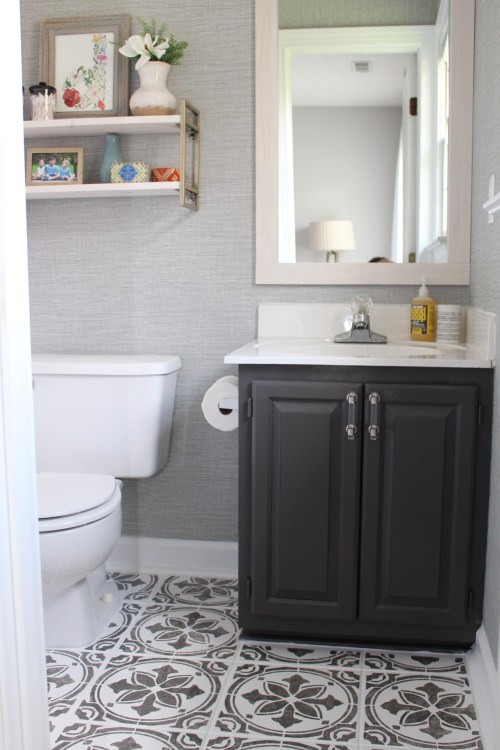


Check out before and afters of this bathroom and the entire house here!
Sources
- Stencil – Purchased from etsy
- Removable wallpaper – from Walmart
- Light fixture – purchased on Amazon
- Panels for shower curtain – purchased from Target
- Shelving unit (with brown shelves) – previously purchased from Target
- Customized “D” initial print – gifted by Kim @ kcreatives.com
- Vanity handles – purchased from Target in-store, not available online

Leave a comment