A few weeks ago I met a new client and set up a consulting session to walk through the house with her so she could give me a list of things she wanted help with. The main project she wanted to get started on was her stairwell. Walking in the house, this is the first thing you see, and it’s been empty for the entire time they’ve lived here. This is how the stairwell started: She thought she wanted to do some pictures up the stairs, but when I saw the space, I knew exactly what it needed. So I measured and followed up later that week by sending her a vision for the wall and recommending specific frames to order. Here’s a piece of the proposal I sent her.

Wouldn’t this be an awesome look for this wall?!
I also drew a planning sketch to figure out frame size and how many we would need to fill the wall.

She loved the proposal and ordered the frames right away! We decided to go with black and white pictures too. They all came in this past week, so we scheduled a time for me to come and install.
The first thing I had to do when I got there was figure out where to start. I knew the space on the top and bottom had to be equal, as well as on the right and left side. So I started by figuring out the spacing between, then went from there. I cut down a 2″ piece of wood to help me ensure perfect spacing. With my level and spacer in hand, I got started, fingers crossed. 🙂
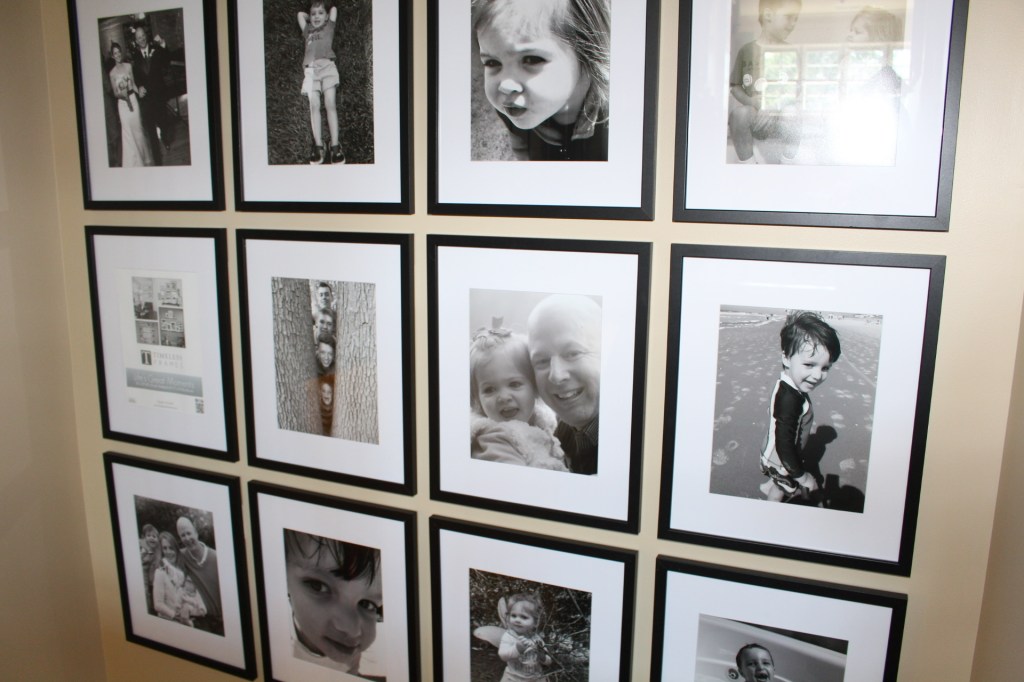
The frames went up crazy fast. Spacing was perfect. Everything was level!


How gorgeous are these pictures!? She did a fantastic job choosing! And the wall of pictures makes THE PERFECT STATEMENT!
HUGE DISCLAIMER….Lest you think everything I do actually turns out right, this one also had a big fail!
I used 3M strips (like I always do to hang picture frames that are not heavy). In ALL MY YEARS using these, they have been flawless. They hold great and I have not had a single issue. Until yesterday.
I hung all 16 frames, but you might have noticed there was one on the right hand side that didn’t have a picture yet. I knew I shouldn’t take the frames off the wall for at least 24 hours (like the directions say!). But I thought it’d be fine to unsnap it, show my client how to put the picture in and then replace it on the snap using the spacer I left her. So we put the picture back up and were just chatting in kitchen when we heard a giant crash. Yes, the frame fell off the wall and there was shattered glass everywhere…5 minutes after I told her that the 3M strips are so great and never have any issues. NO!!
Now, I’m sure it was because I moved it when the directions say not to. But, I’m not going to lie, I left there yesterday a little anxious just waiting for her to call me saying all 16 frames had crashed off the wall.
I did let her know that if there were any more problems, I would come and rehang them all with something else! Fortunately, everything has been fine! All in days’ work!
Whatever the case, I really do love this wall and hope you do too!

Leave a comment