
I’m excited to share some pictures of our boys’ room with you this week! When we moved in here, we knew they’d continue sharing a room like they did in our last house. They do well sharing, so why mess up a good thing? 🙂
The previous owners used this room for a bunch of storage. Boxes, Christmas decorations, etc. We knew it would be a great space for the boys. It’s a big room with a giant walk-in closet.  I painted the room a light gray when we moved in, set up the beds, hung some curtains, and left it that way… for a little while. I don’t have any great pictures of that, but here’s one I found on my phone.
 The boys love having a nightstand to put all their stuff (read: JUNK) on. I also wanted some shelves for them that could hold their books. I thought I could just get a big bookshelf to take care of these things for the space between the beds. Last, I knew I wanted a little desk area for them.
The more I looked around, the more I realized I couldn’t find exactly what I was looking for. I needed a bookshelf that was very tall and wide and there wasn’t anything at a reasonable price. I wanted a low-profile desk that didn’t take up a lot of room. I didn’t know how much they’d use a desk in their bedroom, so was having a hard time justifying a pricey desk that we may or may not have kept in the long run.
So…I went to work planning. We were in Florida that week so I talked my plan through with my dad. He gave me lots of thoughts and tips, and I spent our two hour flight home planning and designing. This was my first attempt at building something on such a large scale, but figured if it turned out okay, and didn’t look totally DIY, then I could do a similar project in the den later. (Which is exactly what I did. Check it out if you haven’t seen it!)
After all the planning and measuring, I began by clearing out the room and patching some holes. 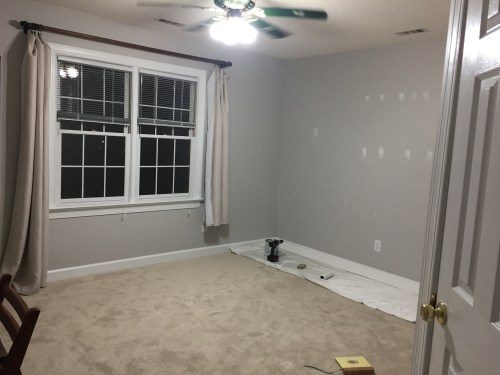
 Then I got to work. My vision was for a big bookcase in the middle and two shelves above the beds. I started by painting that back wall white and building the two above-the-bed-units. I purchased inexpensive pine for this and primed and painted all of it before hand to save myself a little work. Once these were built, I attached them to the wall using some cleats to ensure they wouldn’t move.
  Then I got to work on the middle bookshelf. I wanted shelves the entire way up. I finished building and then installed that on the wall as well.
  Next, I went back and caulked everything. Not my favorite part. But the caulk makes such a big difference in making the unit look “built in.” I also second coated all the shelves.
 All was sturdy, but now it was time to “beef it up” (AKA add all the finishing trim). This is always my favorite part! It takes a little time, but really adds a nice finishing touch. Here’s a little preview of the shelves finished.
  Tomorrow I will share the desk. And then a full reveal of the finished room!

Leave a comment