
Hello!
TONS of people have asked recently about helping with built-ins (or something like them) in their homes. Although I would LOVE to make everyone’s built-in dreams come true, truth be told, they take a TON of time. And I have had to say no to too many of you. I’m so sorry! Serious bummer!
There are, however, lots of options for doing these on your own if you are even the slightest bit handy. I have a few examples that I want to share with you along with a brief how-to in case you want to give it a shot yourself. 🙂
First up for today is one I did here in the kids’ playroom. I wanted a little workspace for them, but didn’t want to invest in anything crazy expensive or commit to something that has to stay forever. The little hack below works really nicely for something like this.
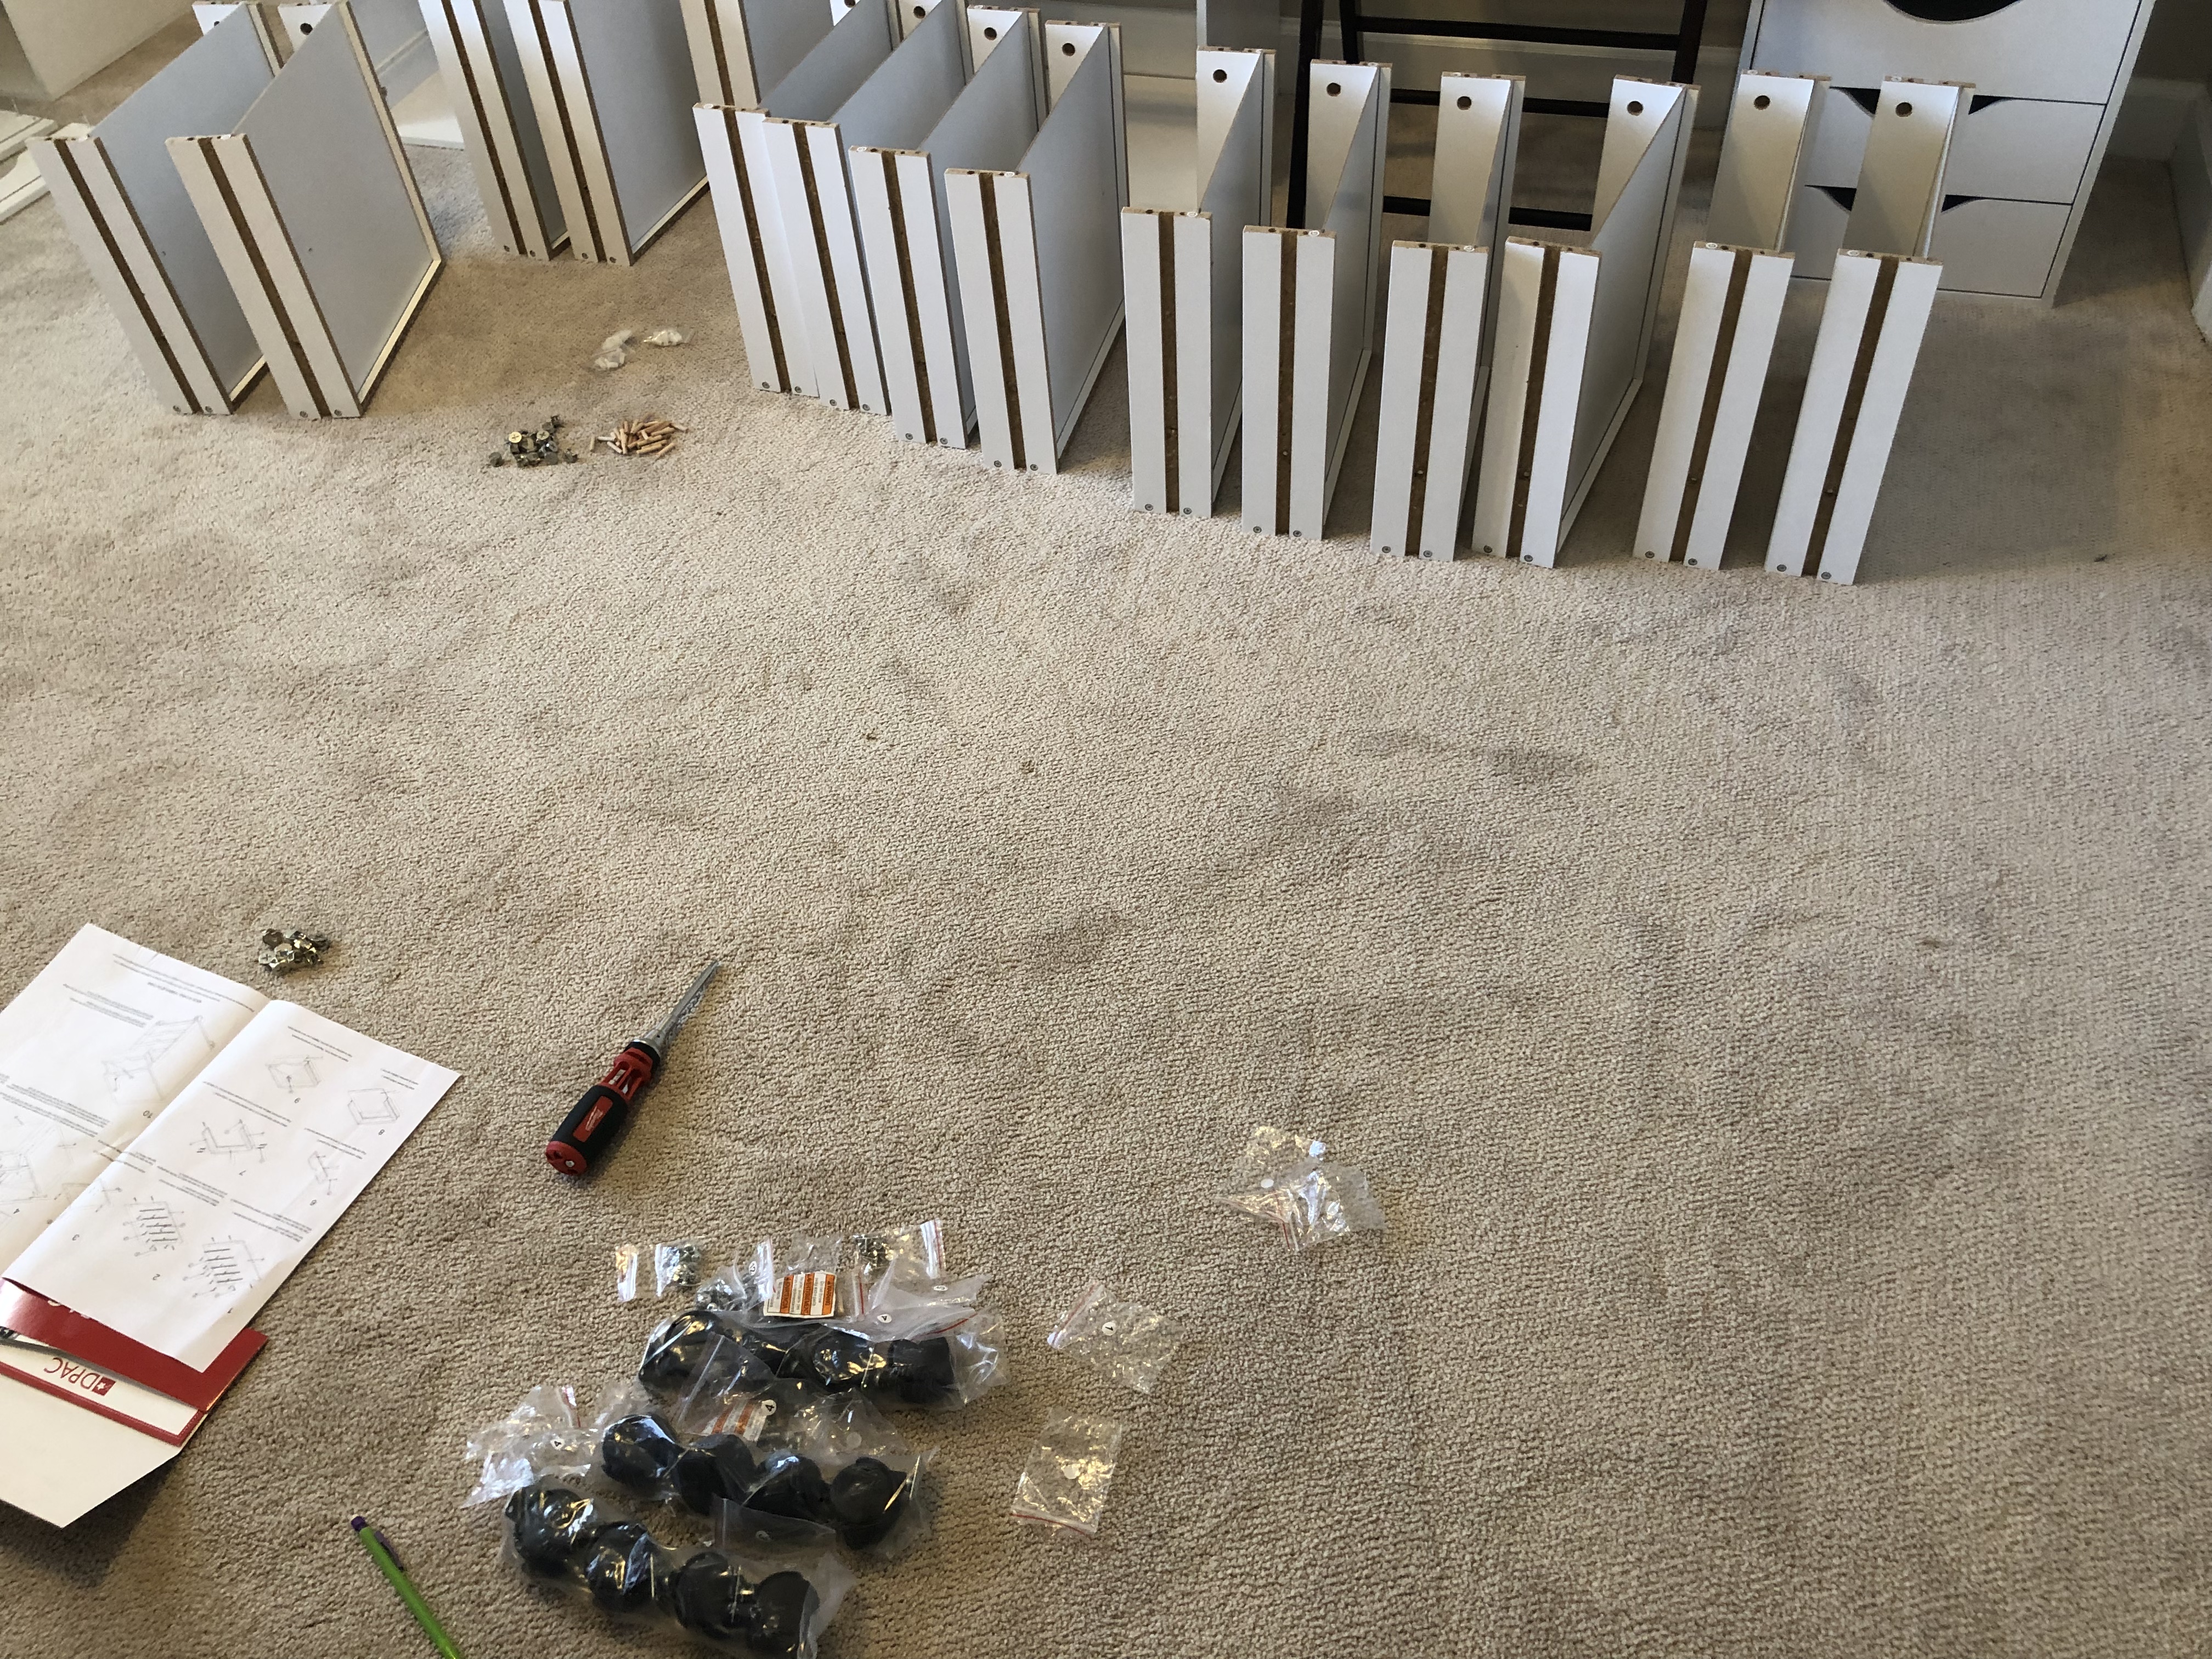
The first step is to look for some pre-made units with drawers to use for the base of the built-in. When choosing drawer units, it’s completely fine to mix and match, as long as the styles are similar. Also, you will want to check height to make sure they are the same. I wound up choosing these simple units from Michaels. I scored them at 50% off and used an additional 20% off coupon, landing me at $160 total for 4 units. My hubby was so proud.
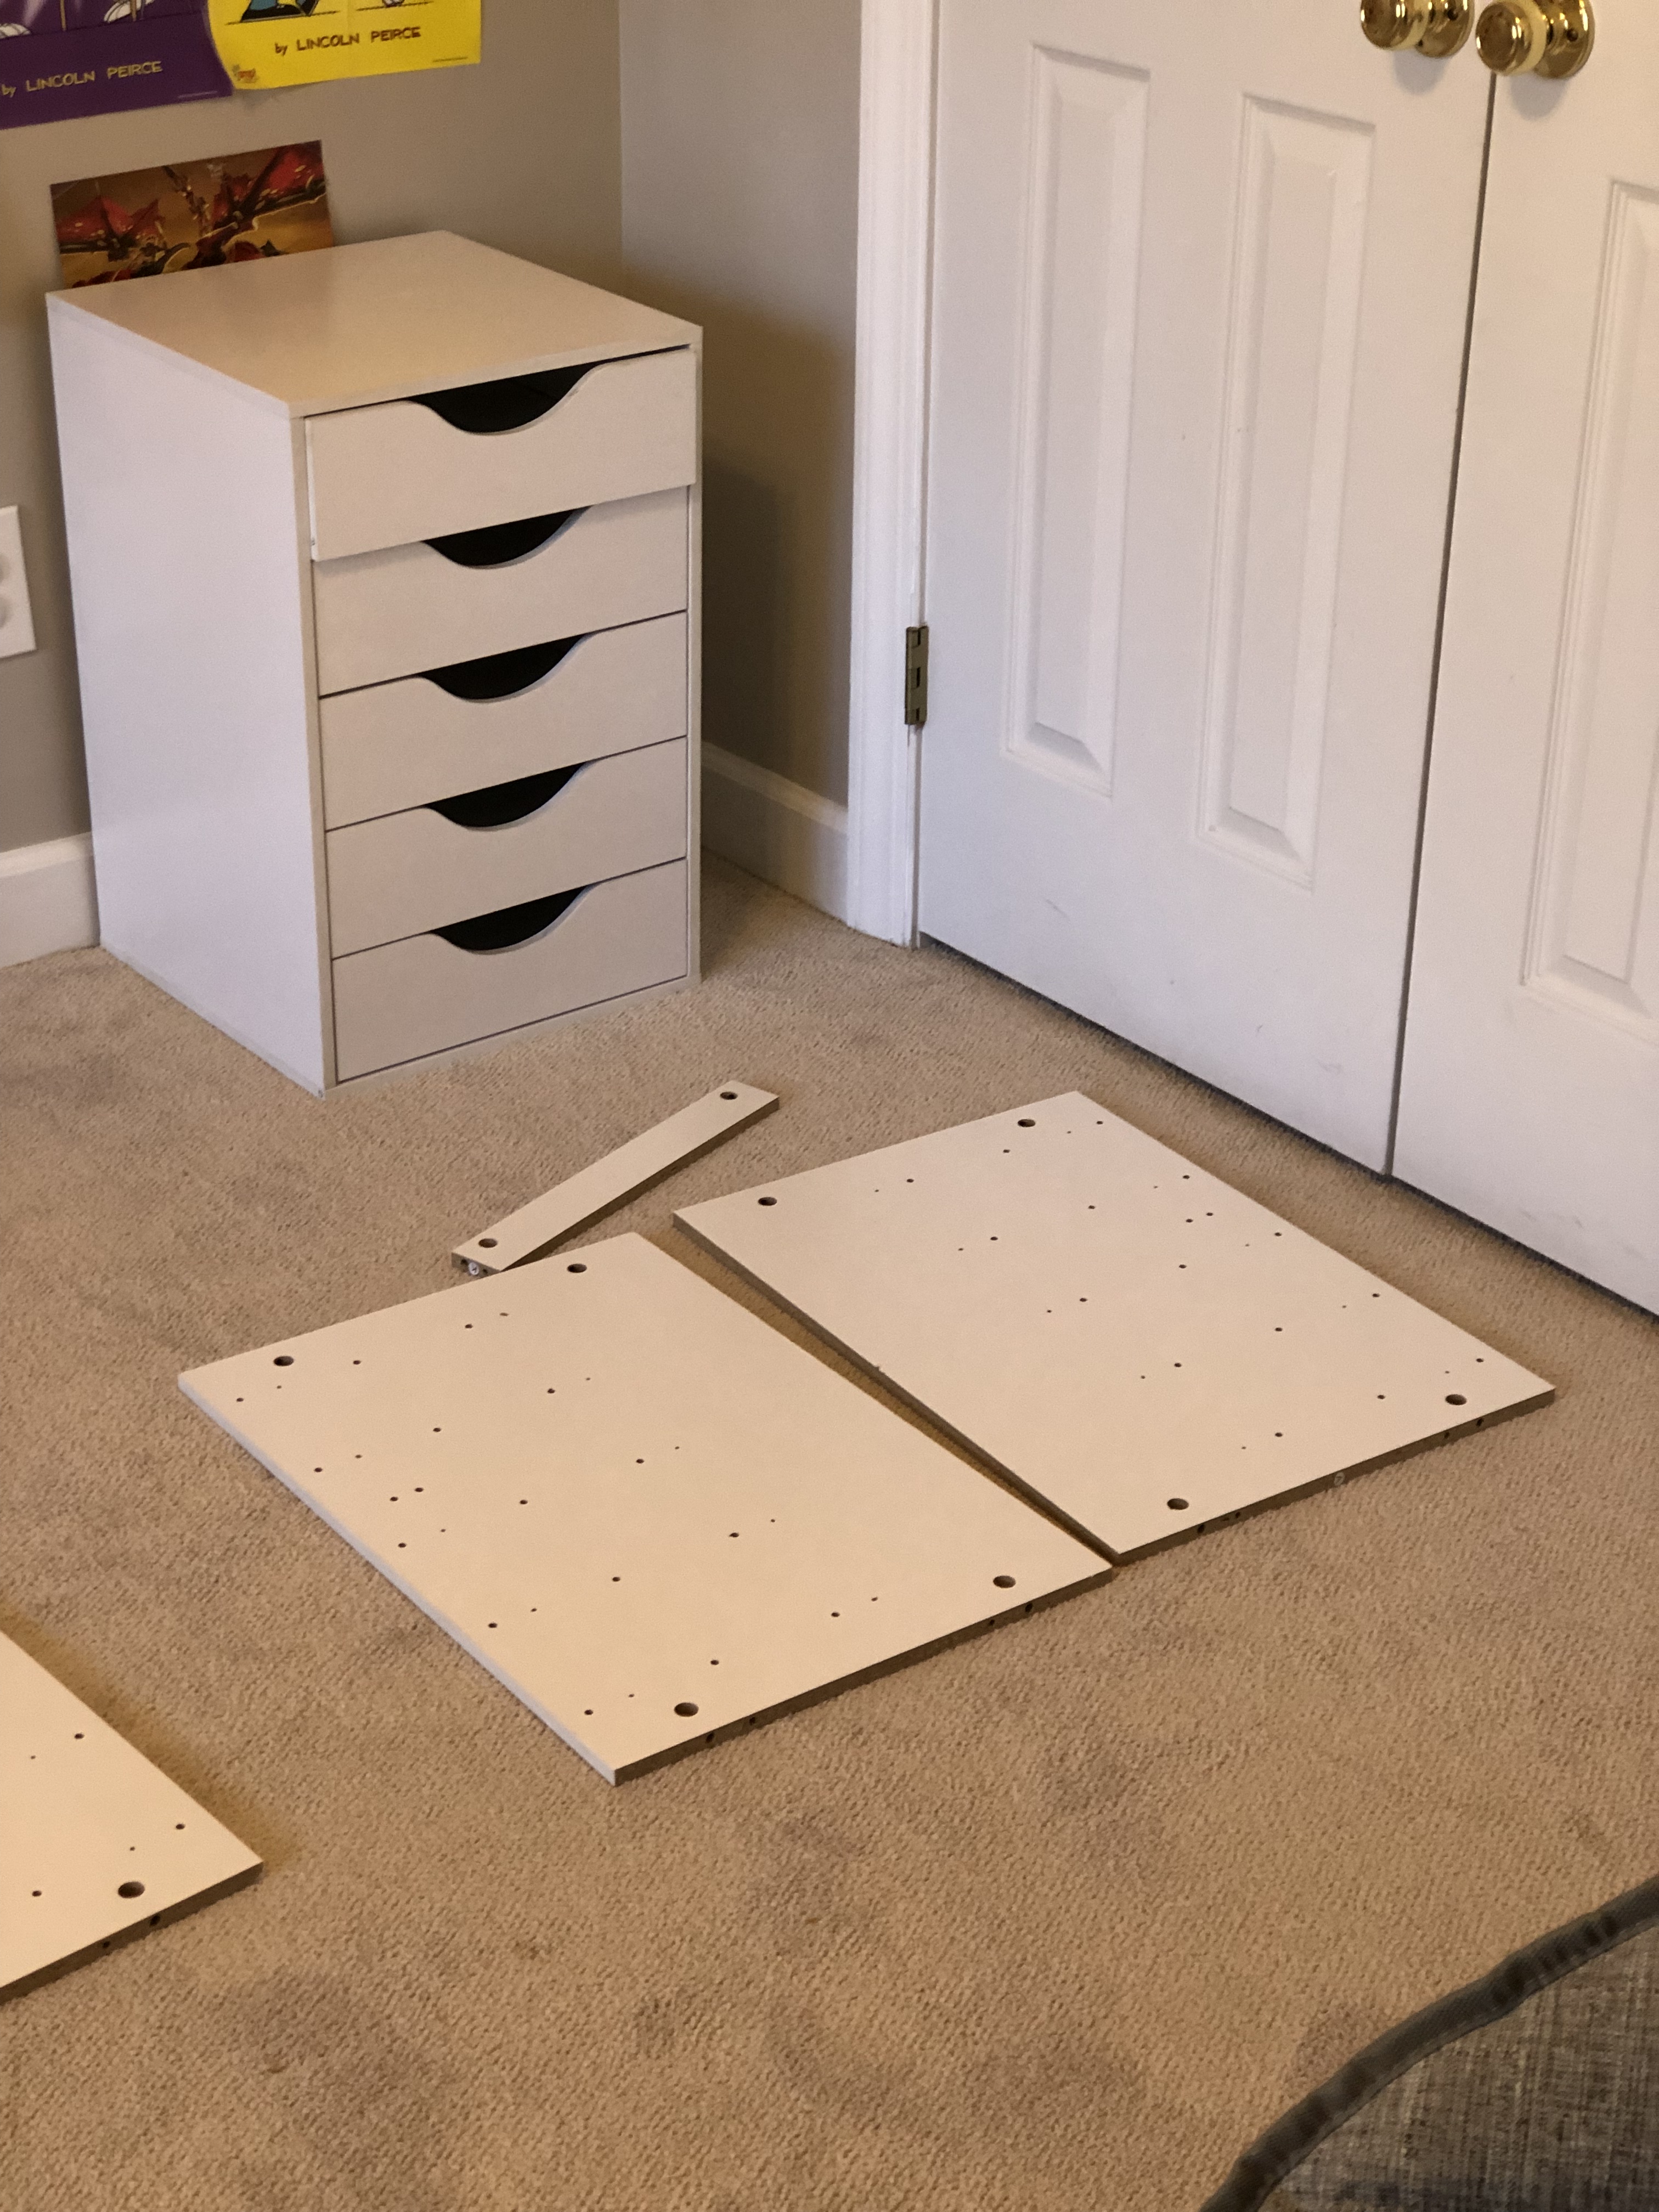
The not so fun part with these was putting them together. TONS of parts, and (if I’m being honest), a little more time putting together than I’d like to spend.

Once assembled, you simply put the units in place where you want them, making sure the openings for seating areas are equally spaced. (note: you’ll want to leave about 25-30″ for a chair)
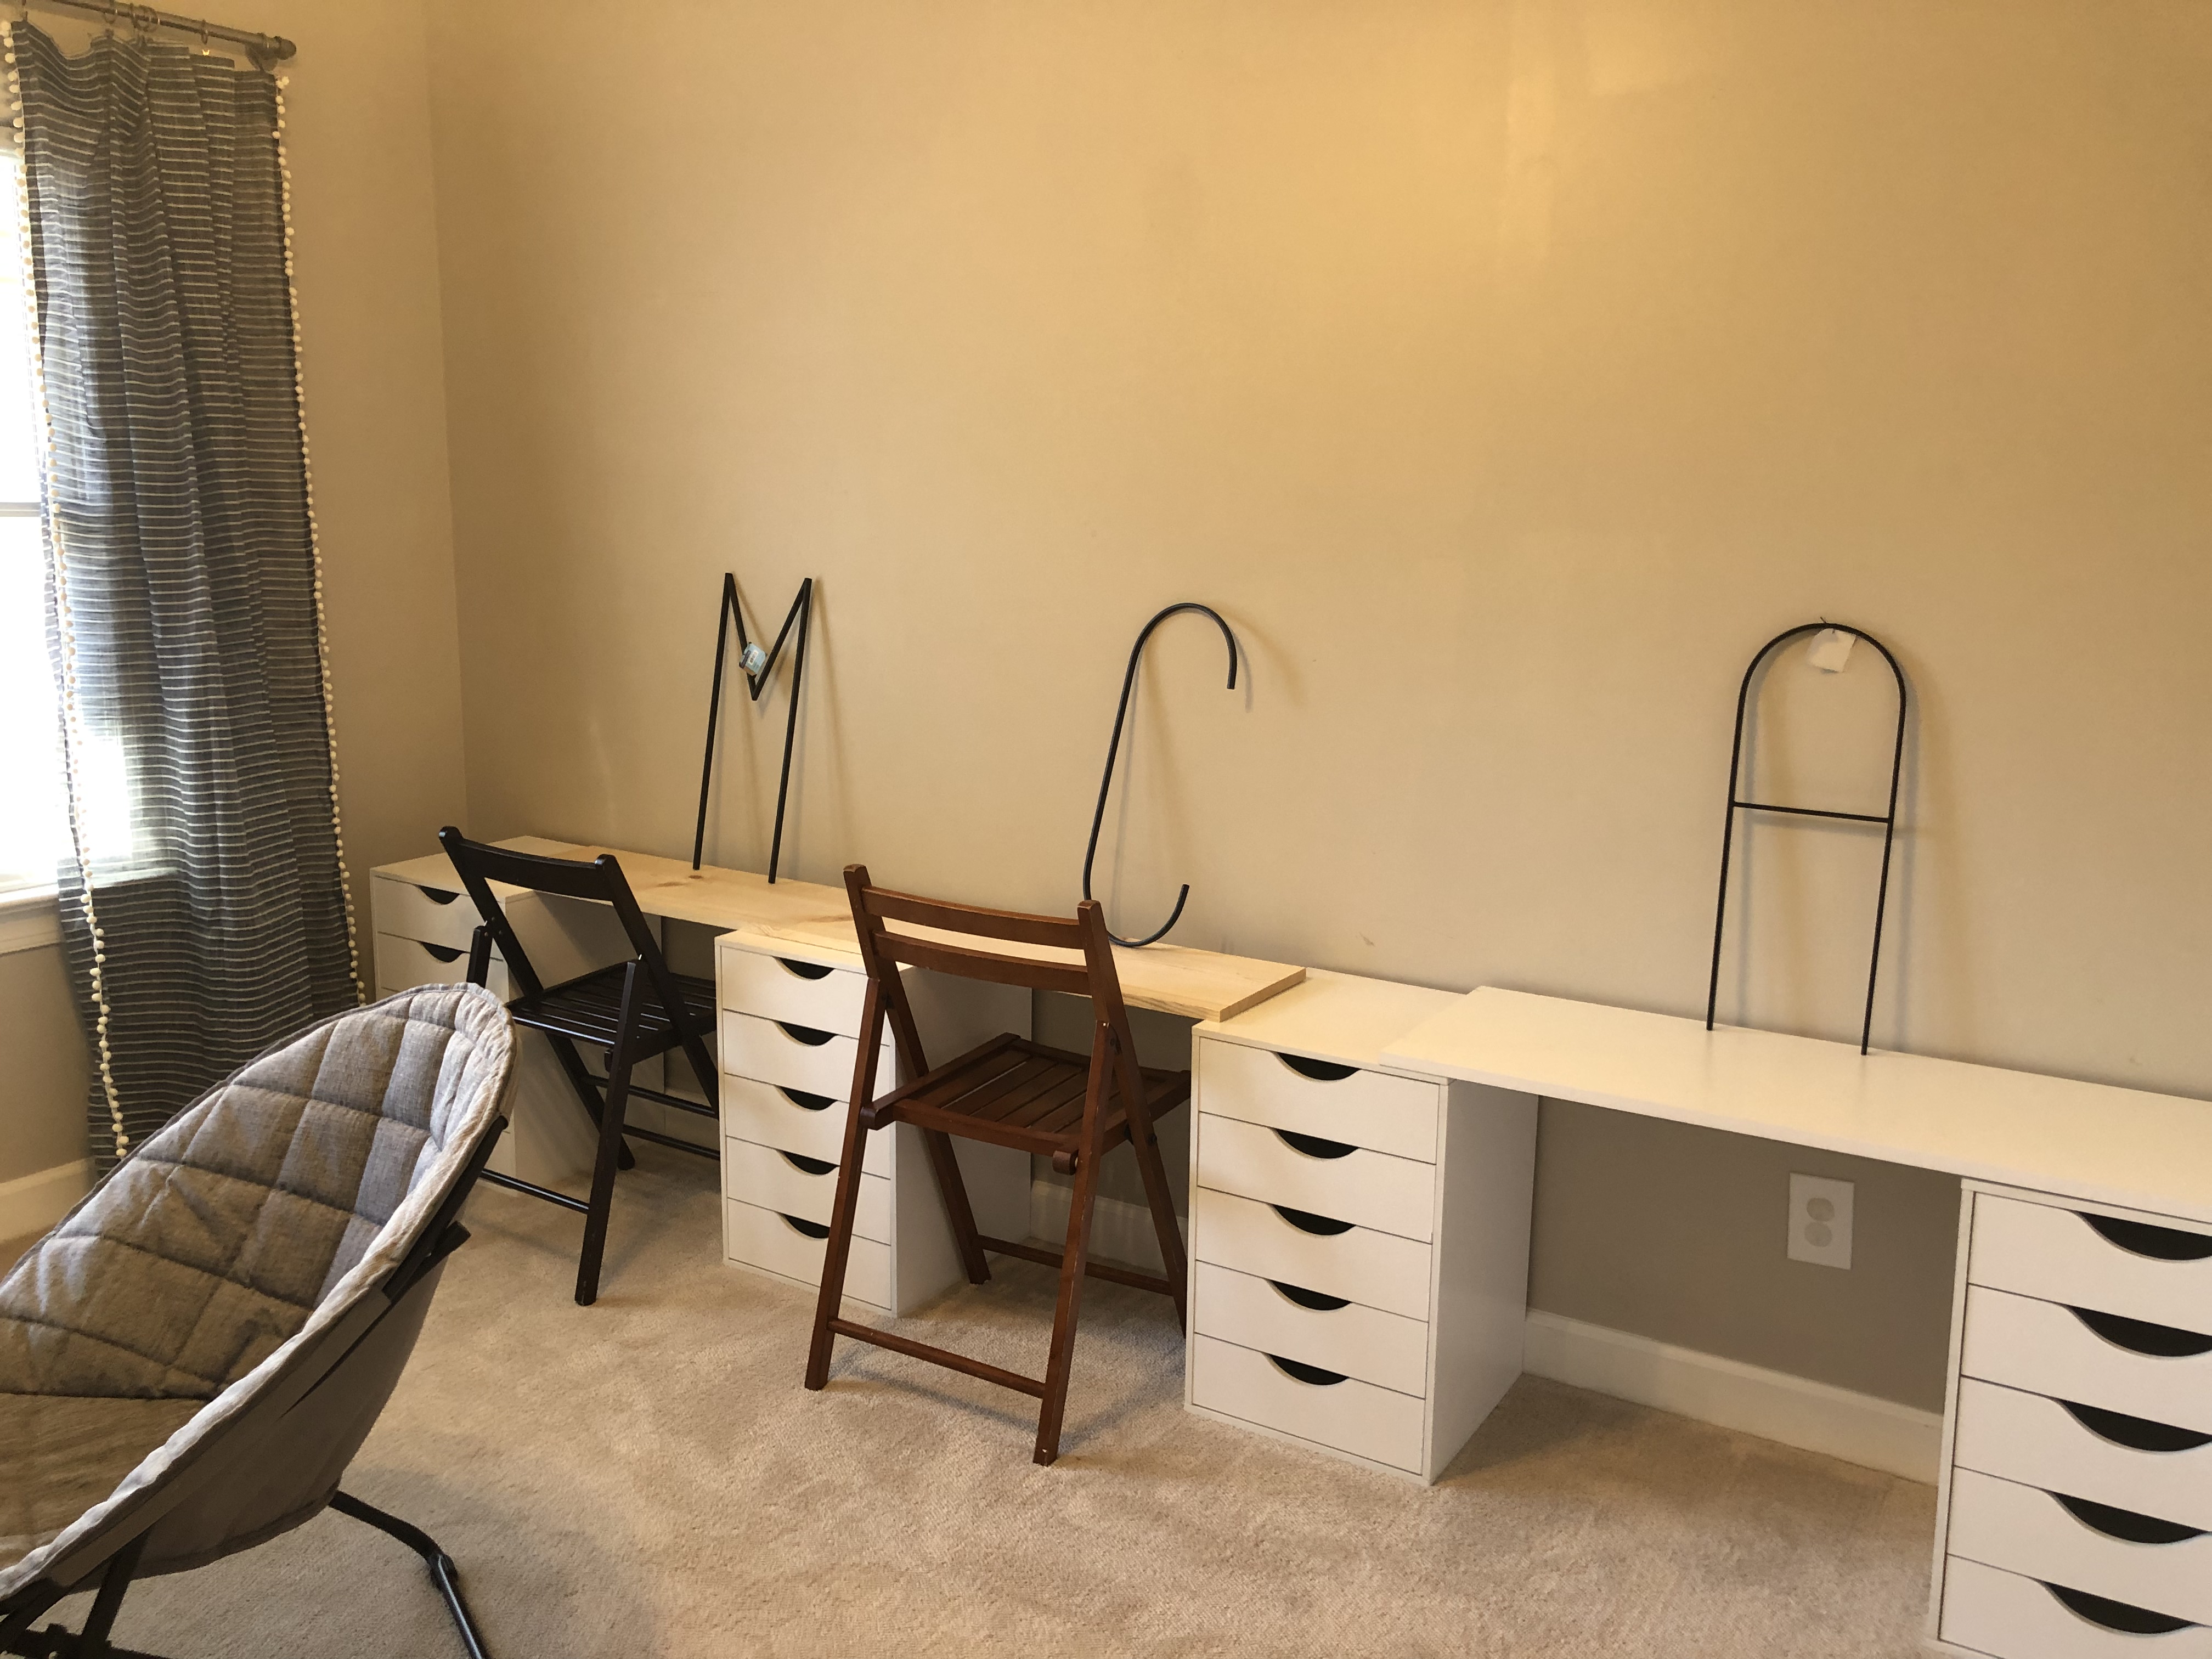
The next step is to measure for countertops. You can buy pre-primed wood (if you want to paint), unfinished wood (if you want to stain), or white MDF board (if you want it to be cheap and kid-friendly, like me for this project). I purchased 3 pieces of MDF at 16” deep- one @ 4′, and 2 @ 3′ in length. Once I got them home, I installed the countertop right on top of the drawer units, securing them with some clamps and adding a few screws underneath to hold it all in place.

Here it is with the countertops all installed. For reference, this took me about an hour and I PROMISE it was pretty doable.
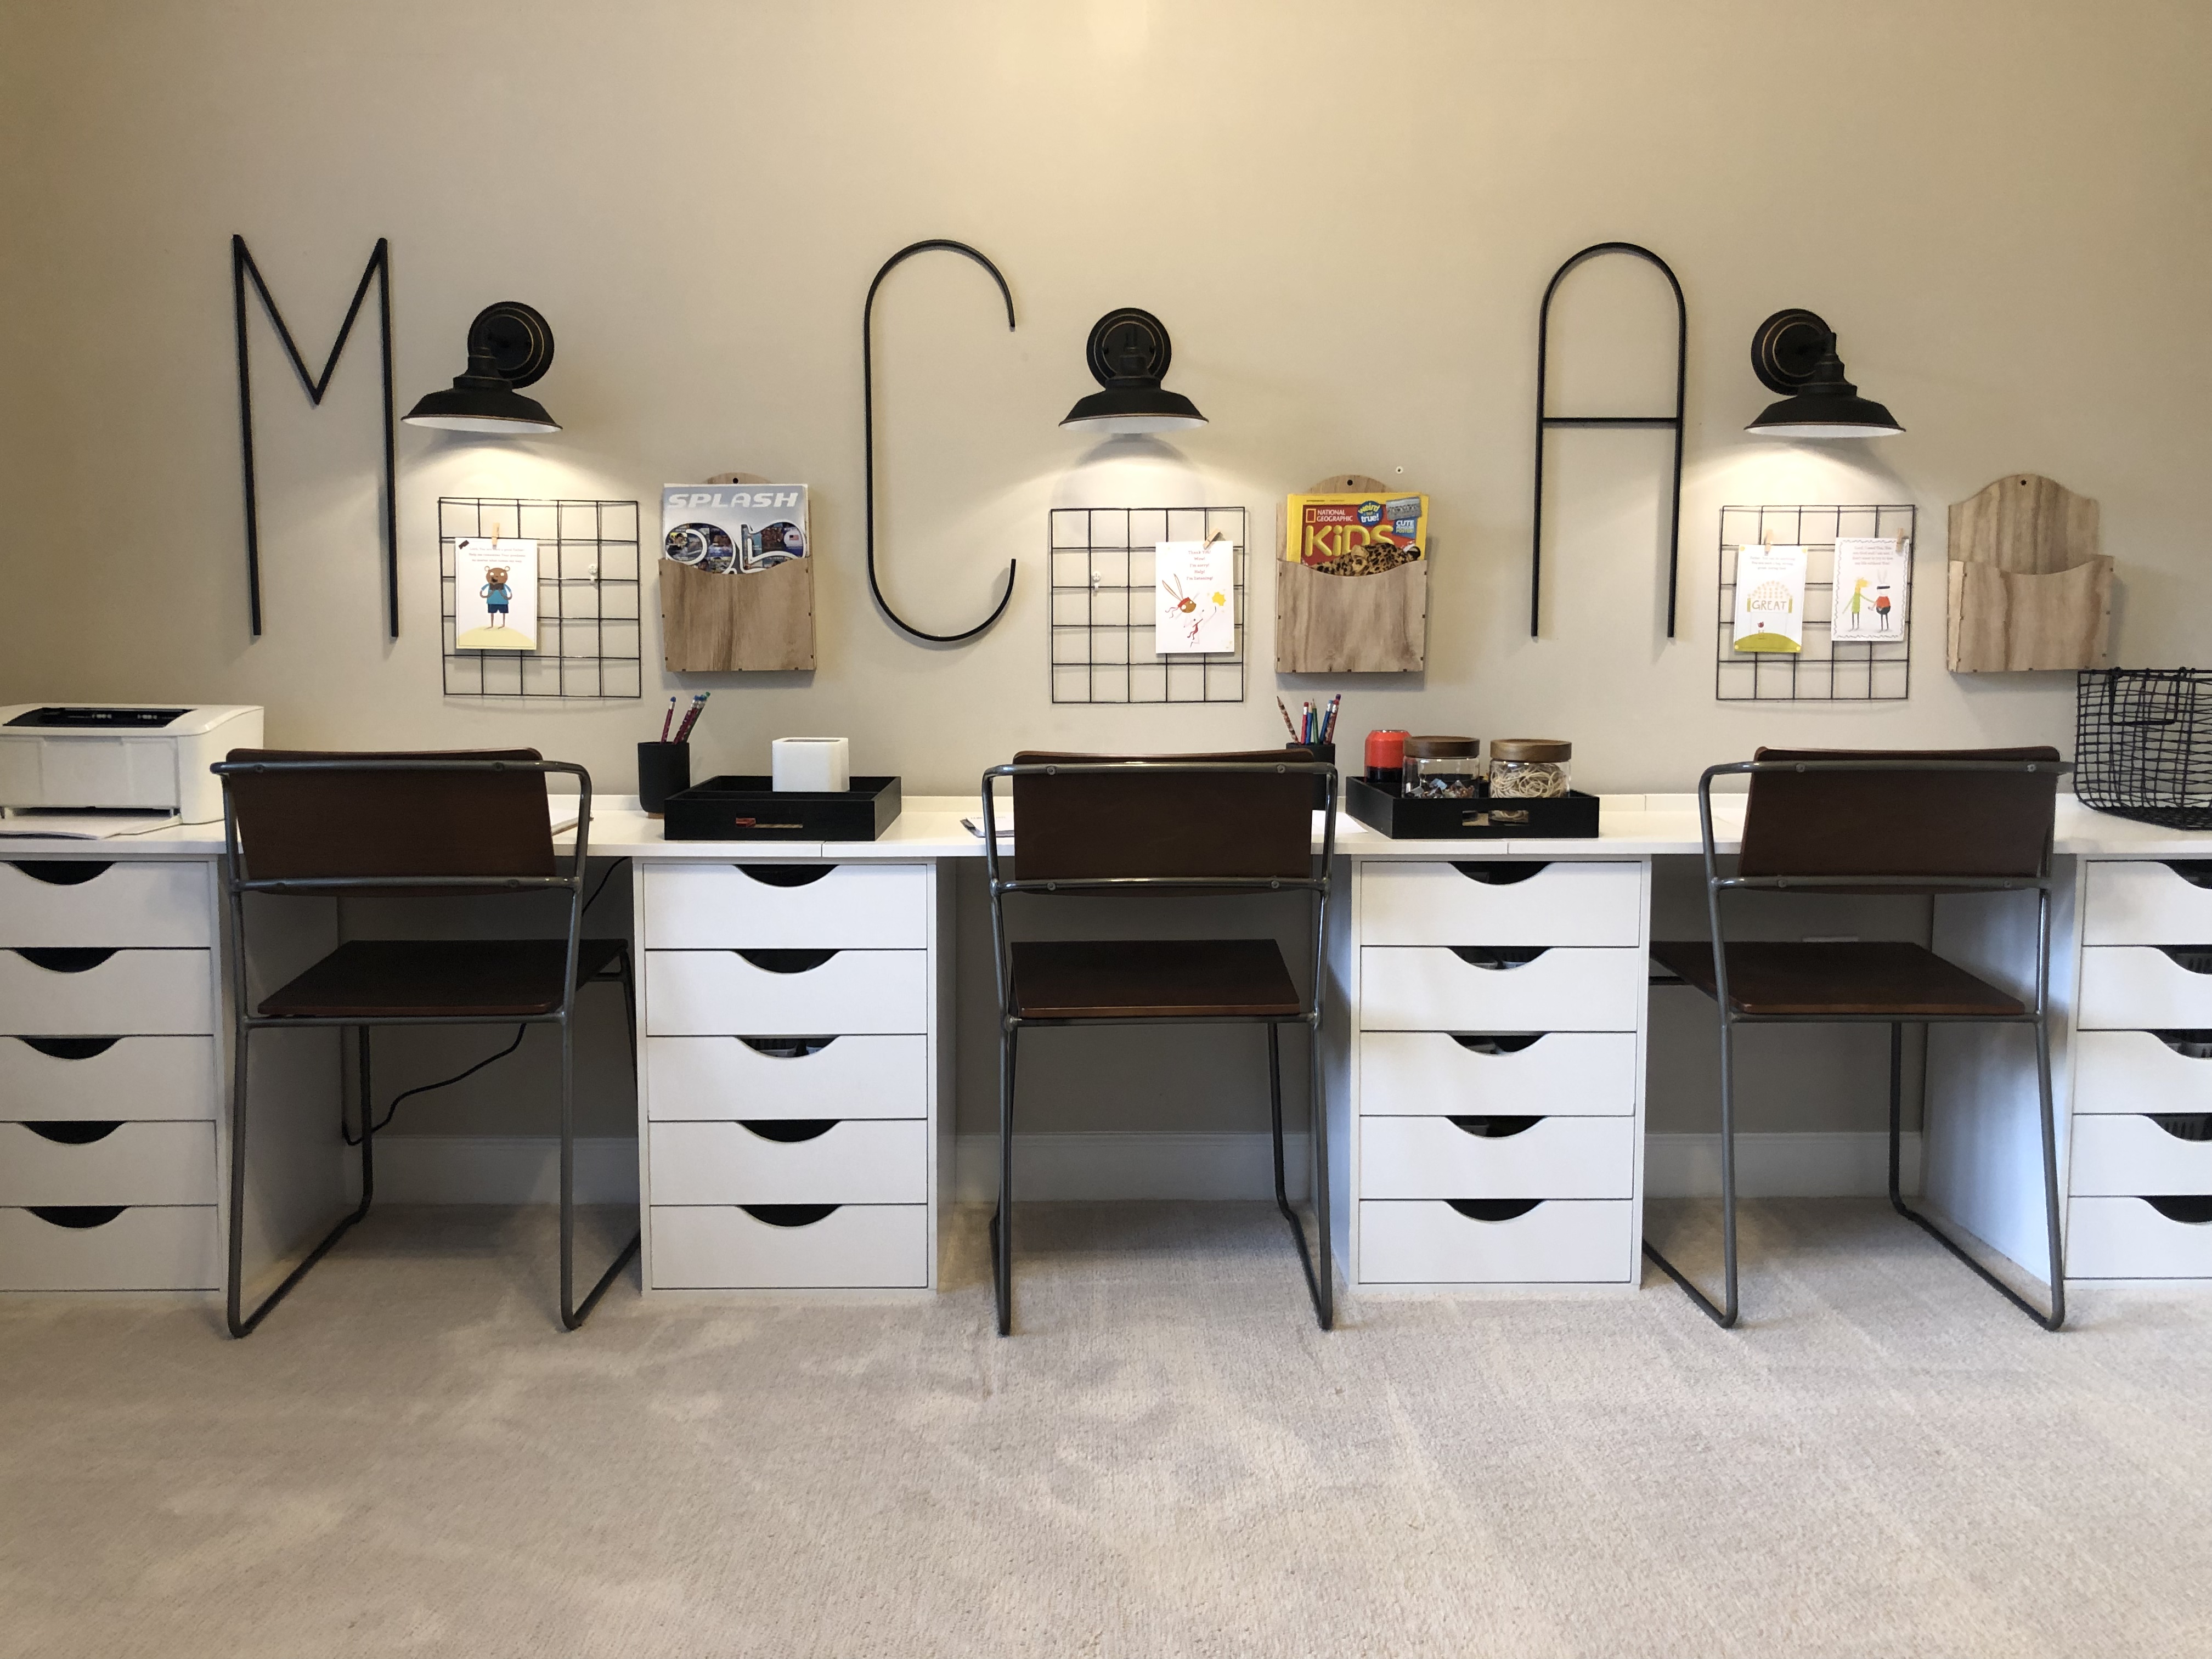
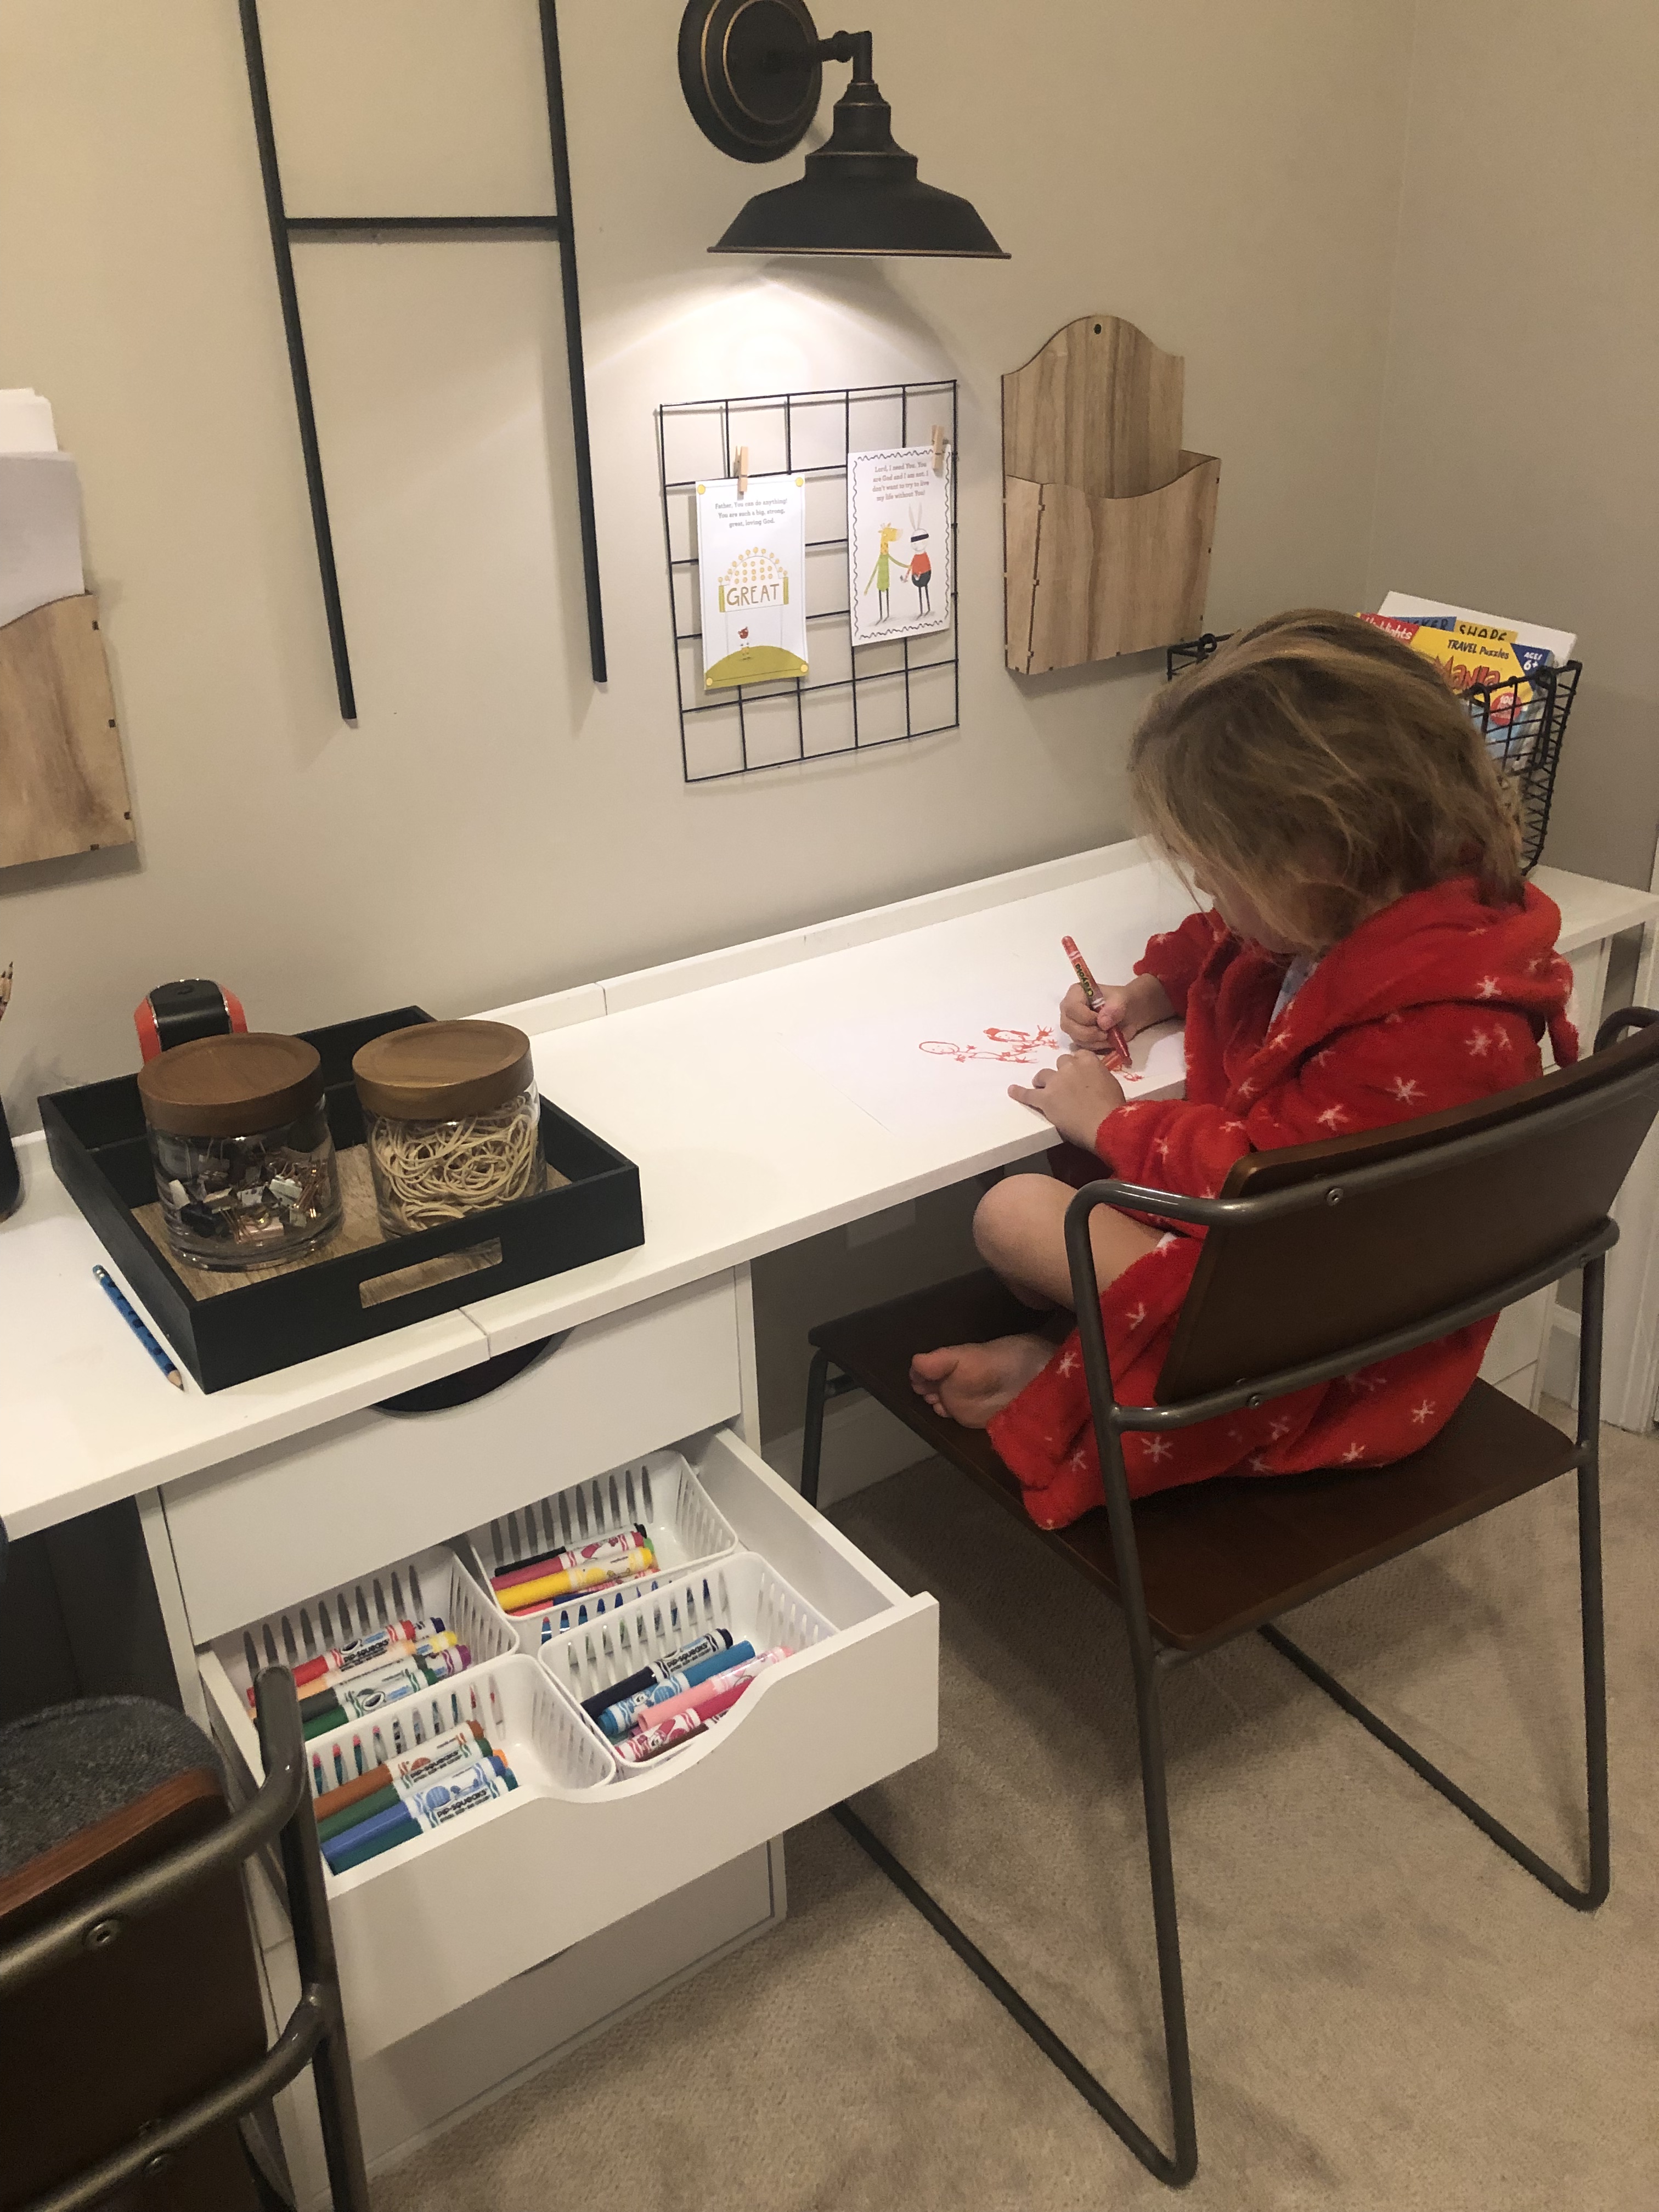
Last, it was time to decorate the space! First, the kids filled the drawers with dollar store bins and all of their art supplies!
Then I added a bunch of fun things to the desk area including:
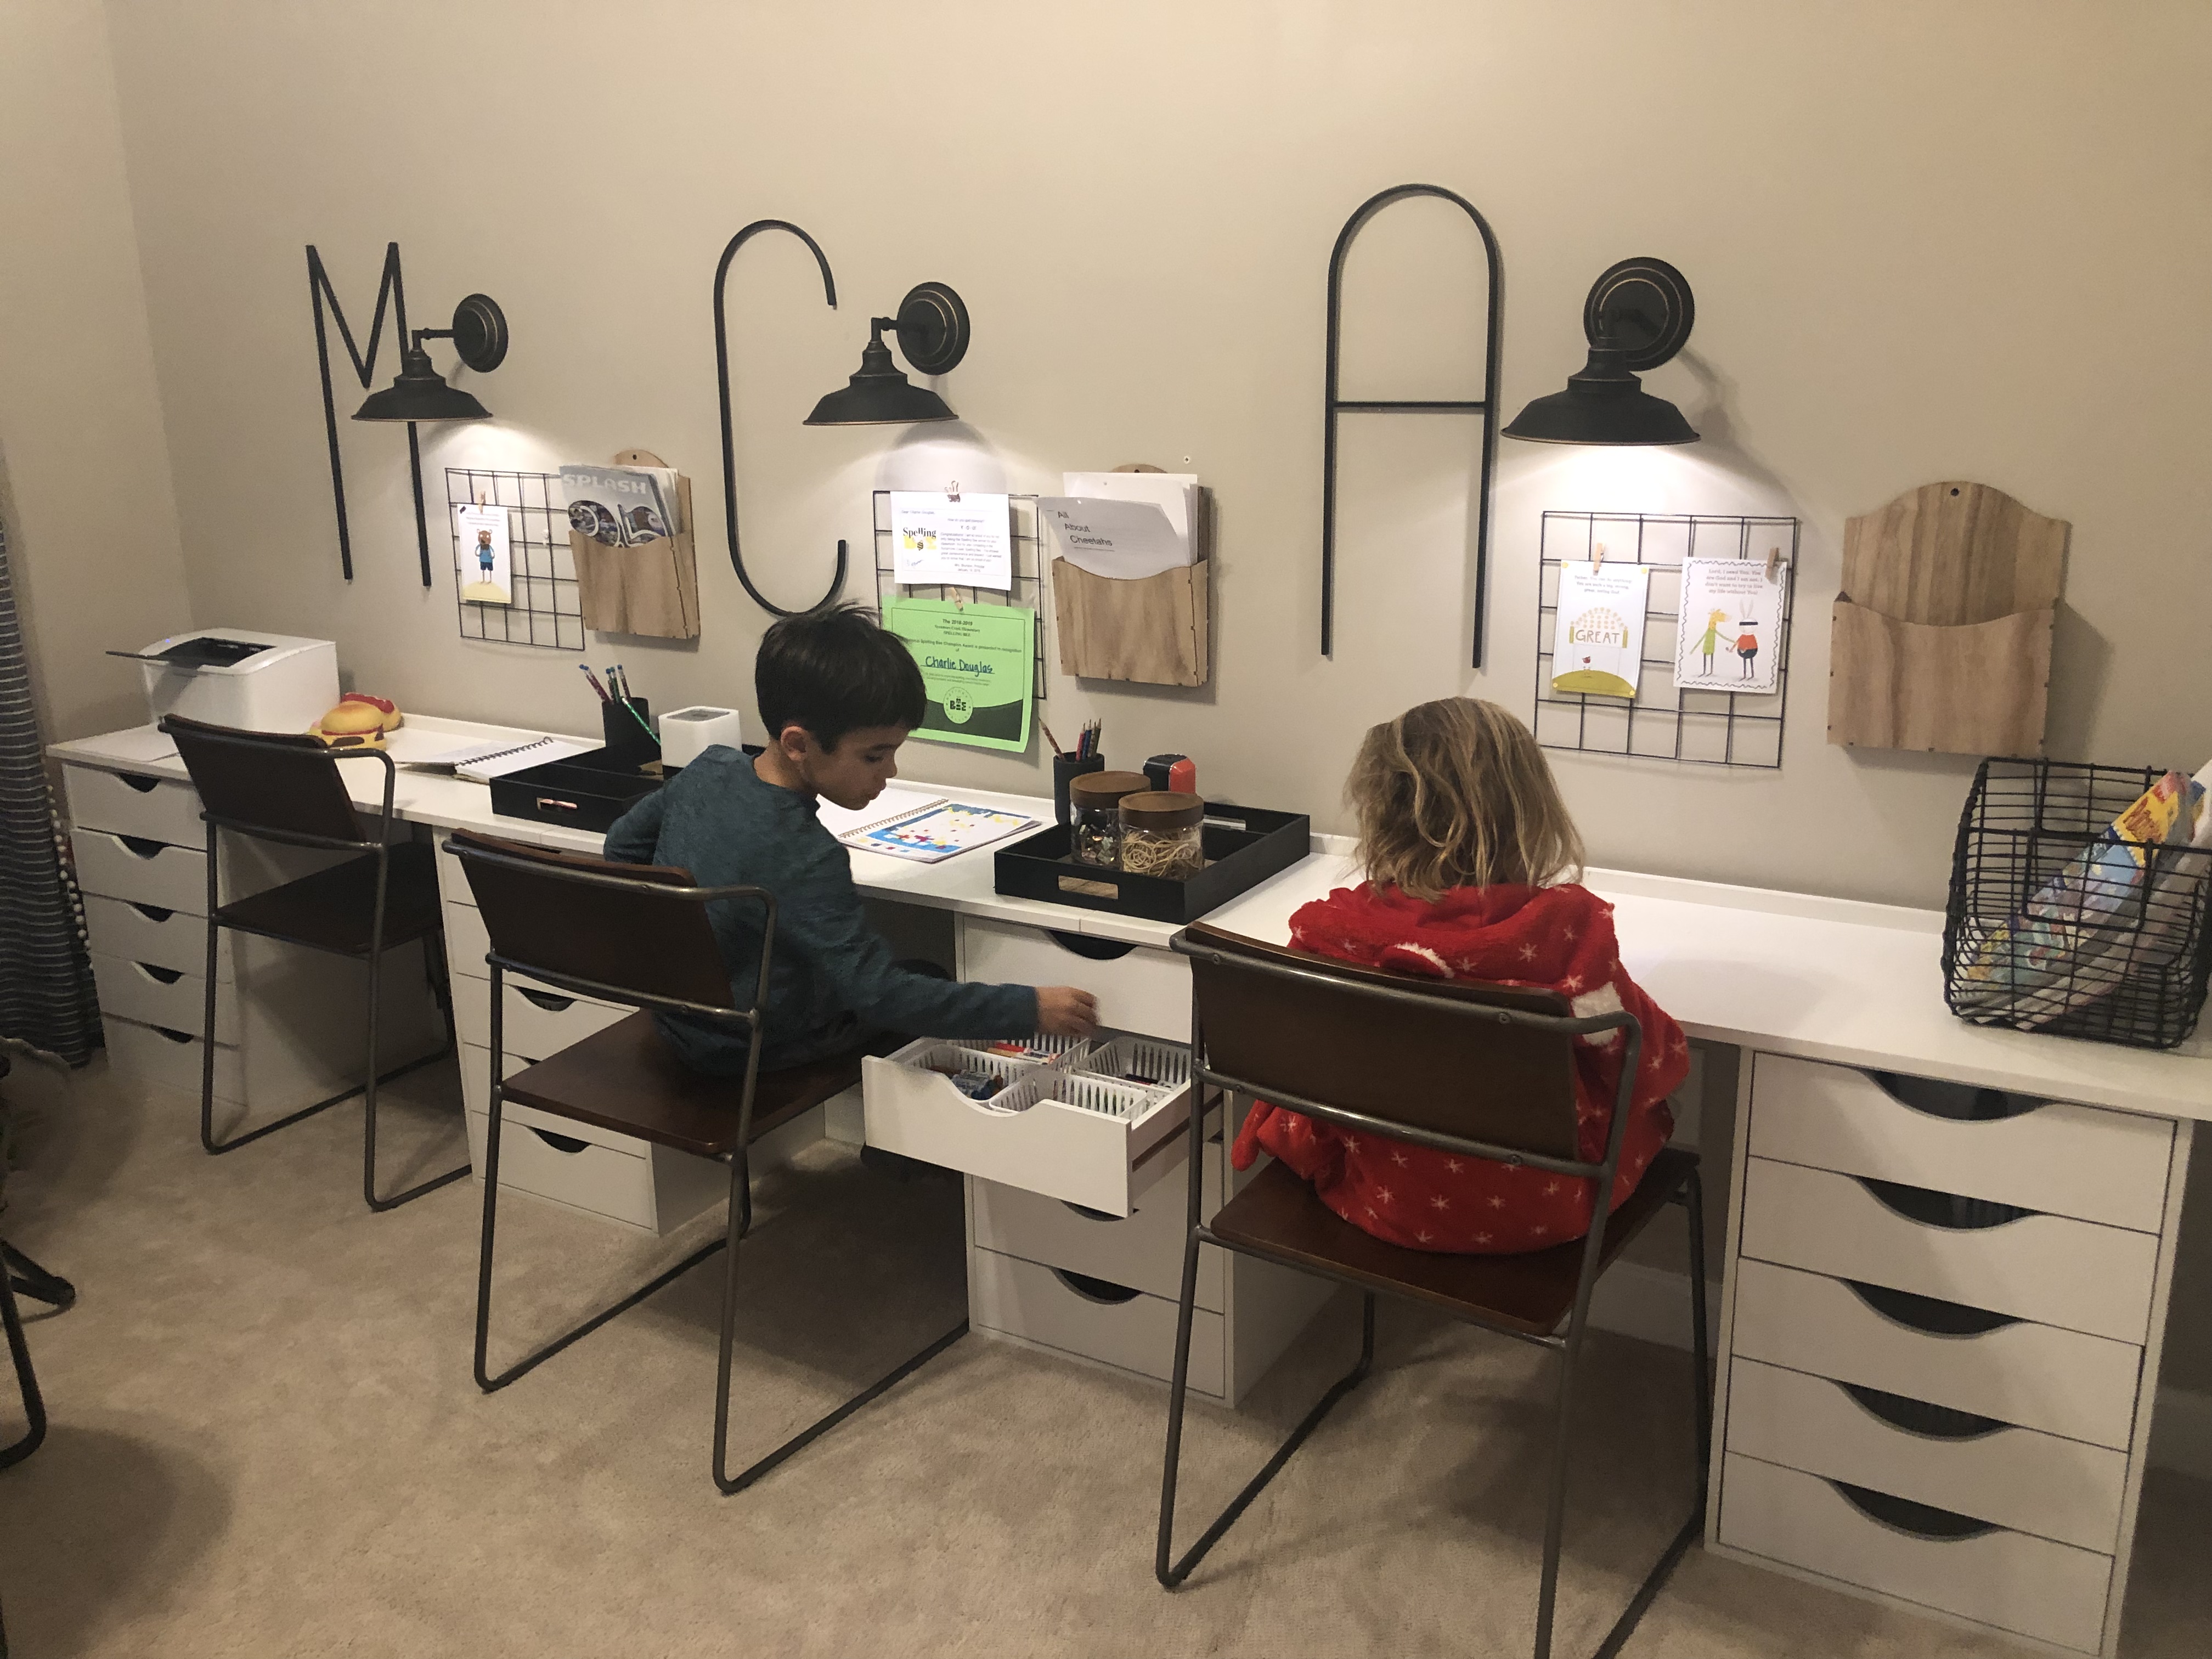
- These letters from Hobby Lobby
- These grids from Amazon (came as pack of 4)
- These letter holders from Amazon
- These chairs from Target (came as set of 2)
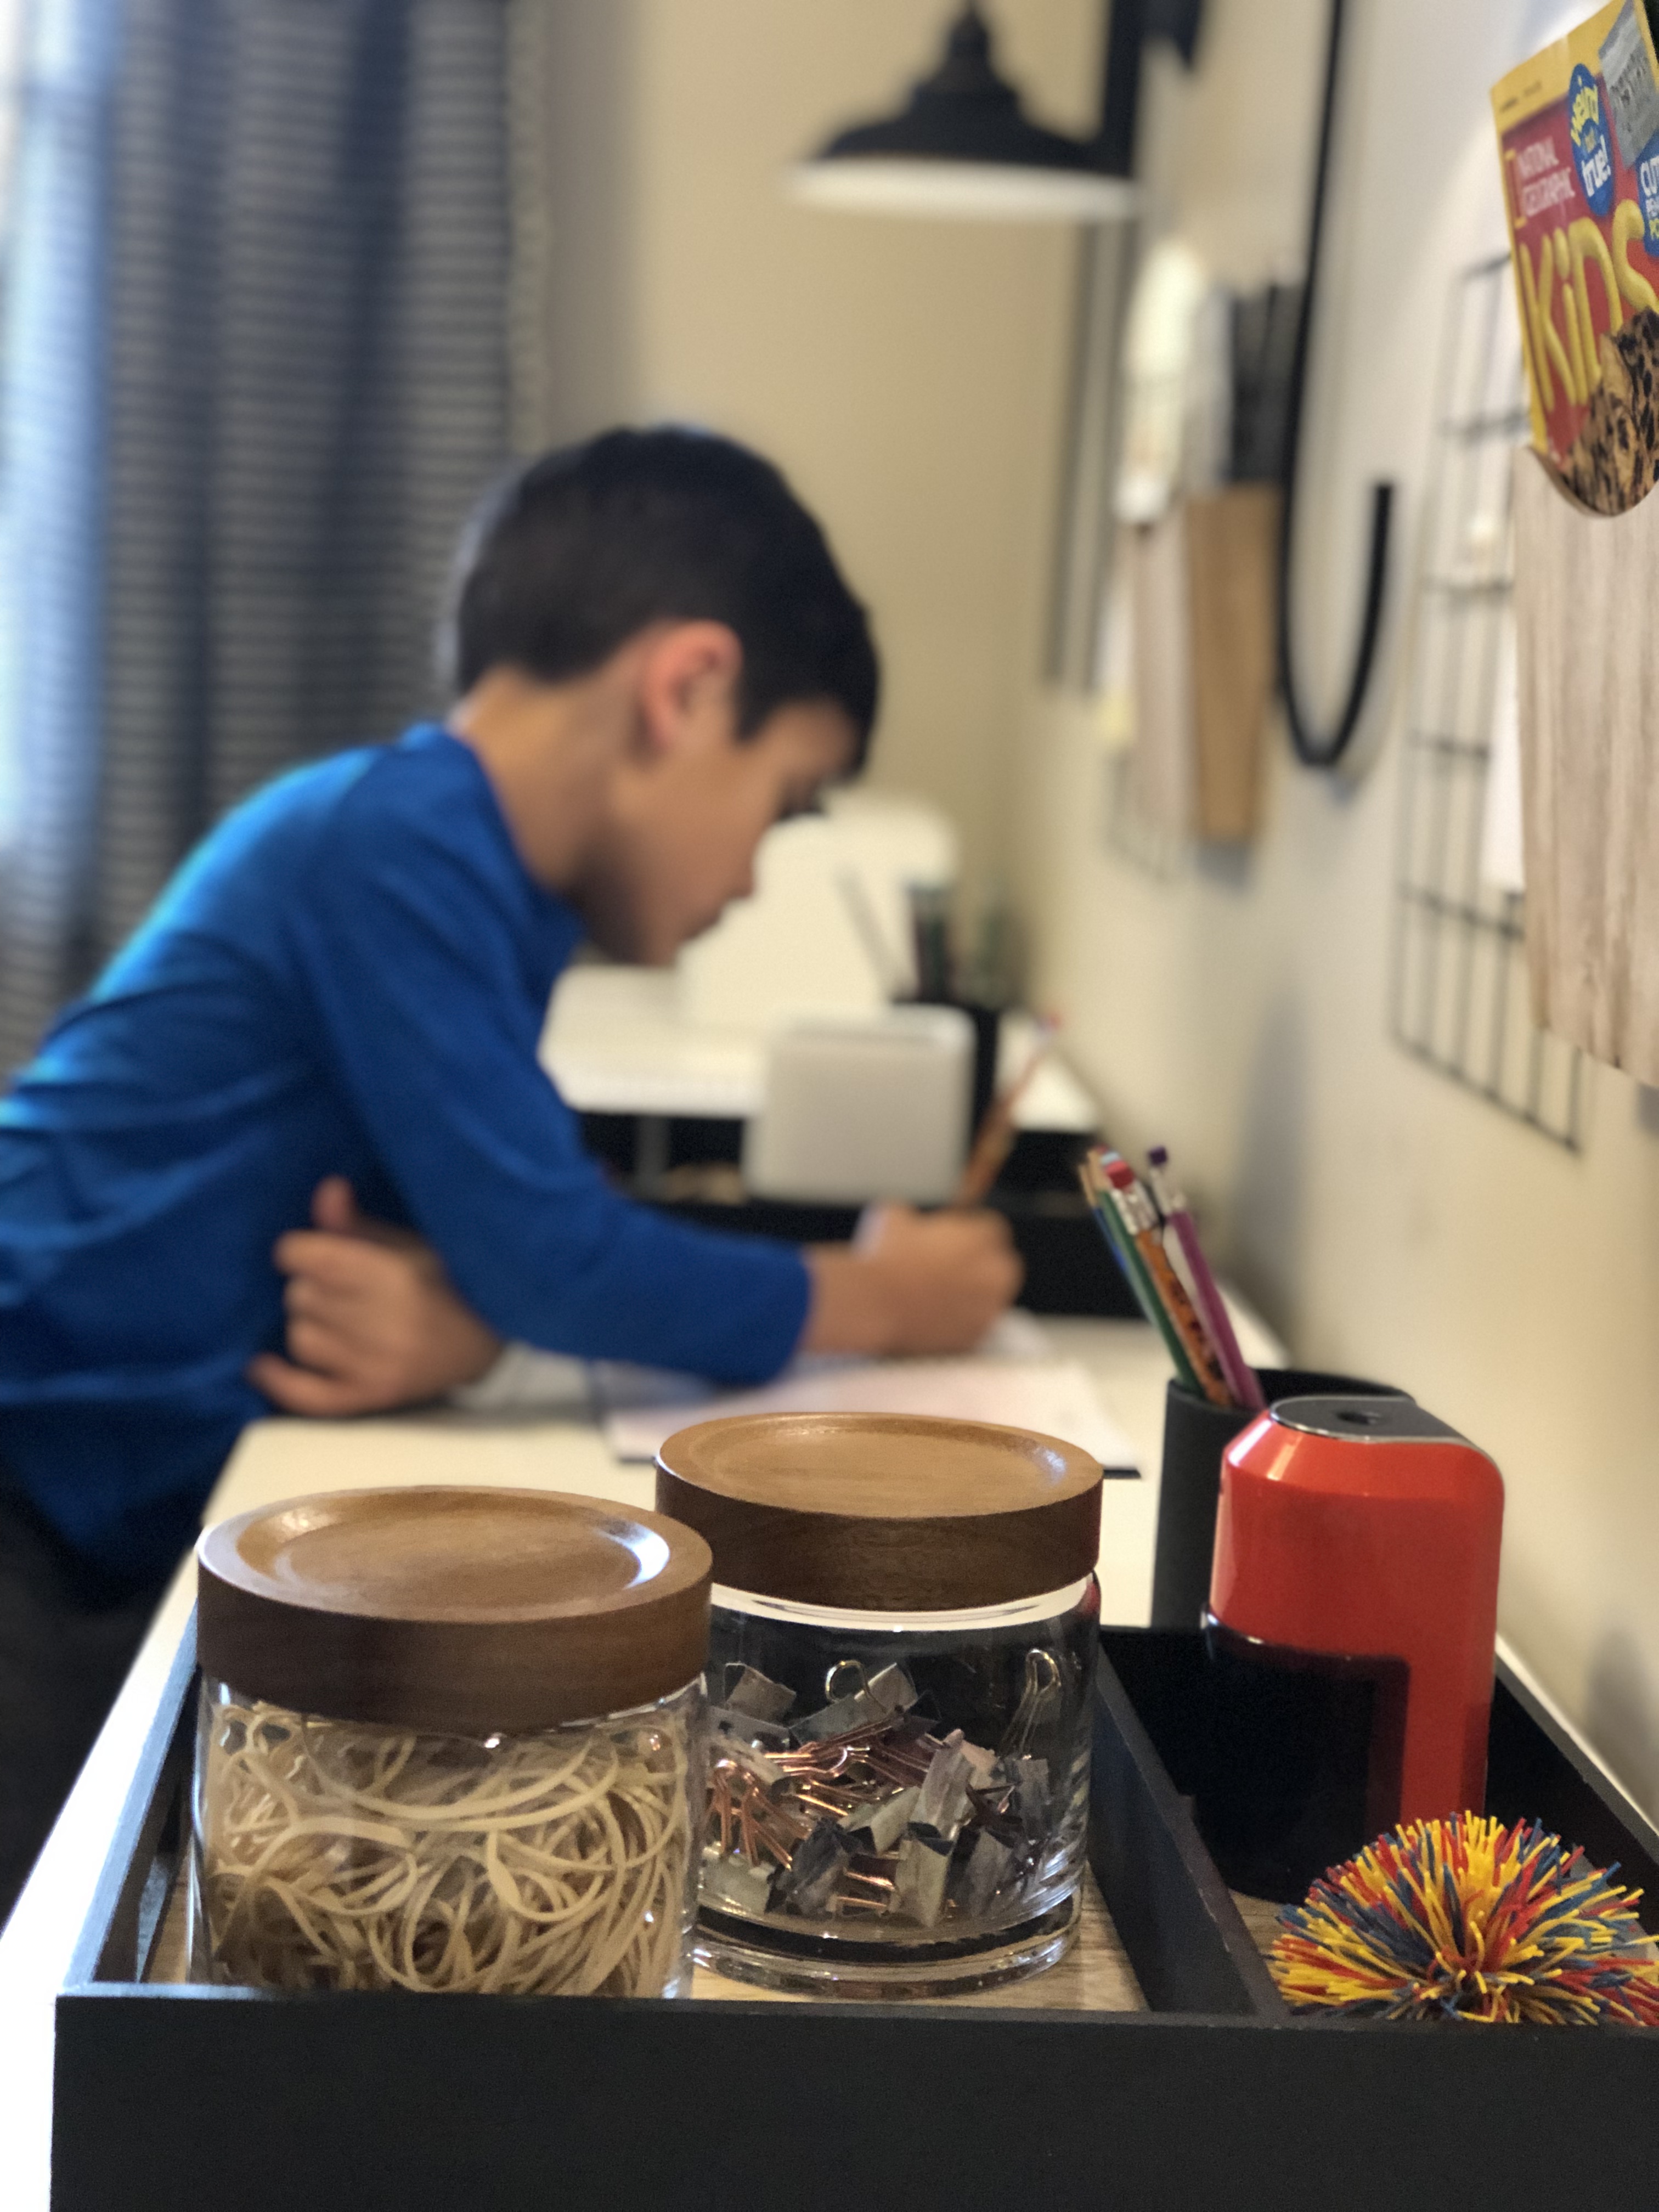
- These wooden canisters from Target
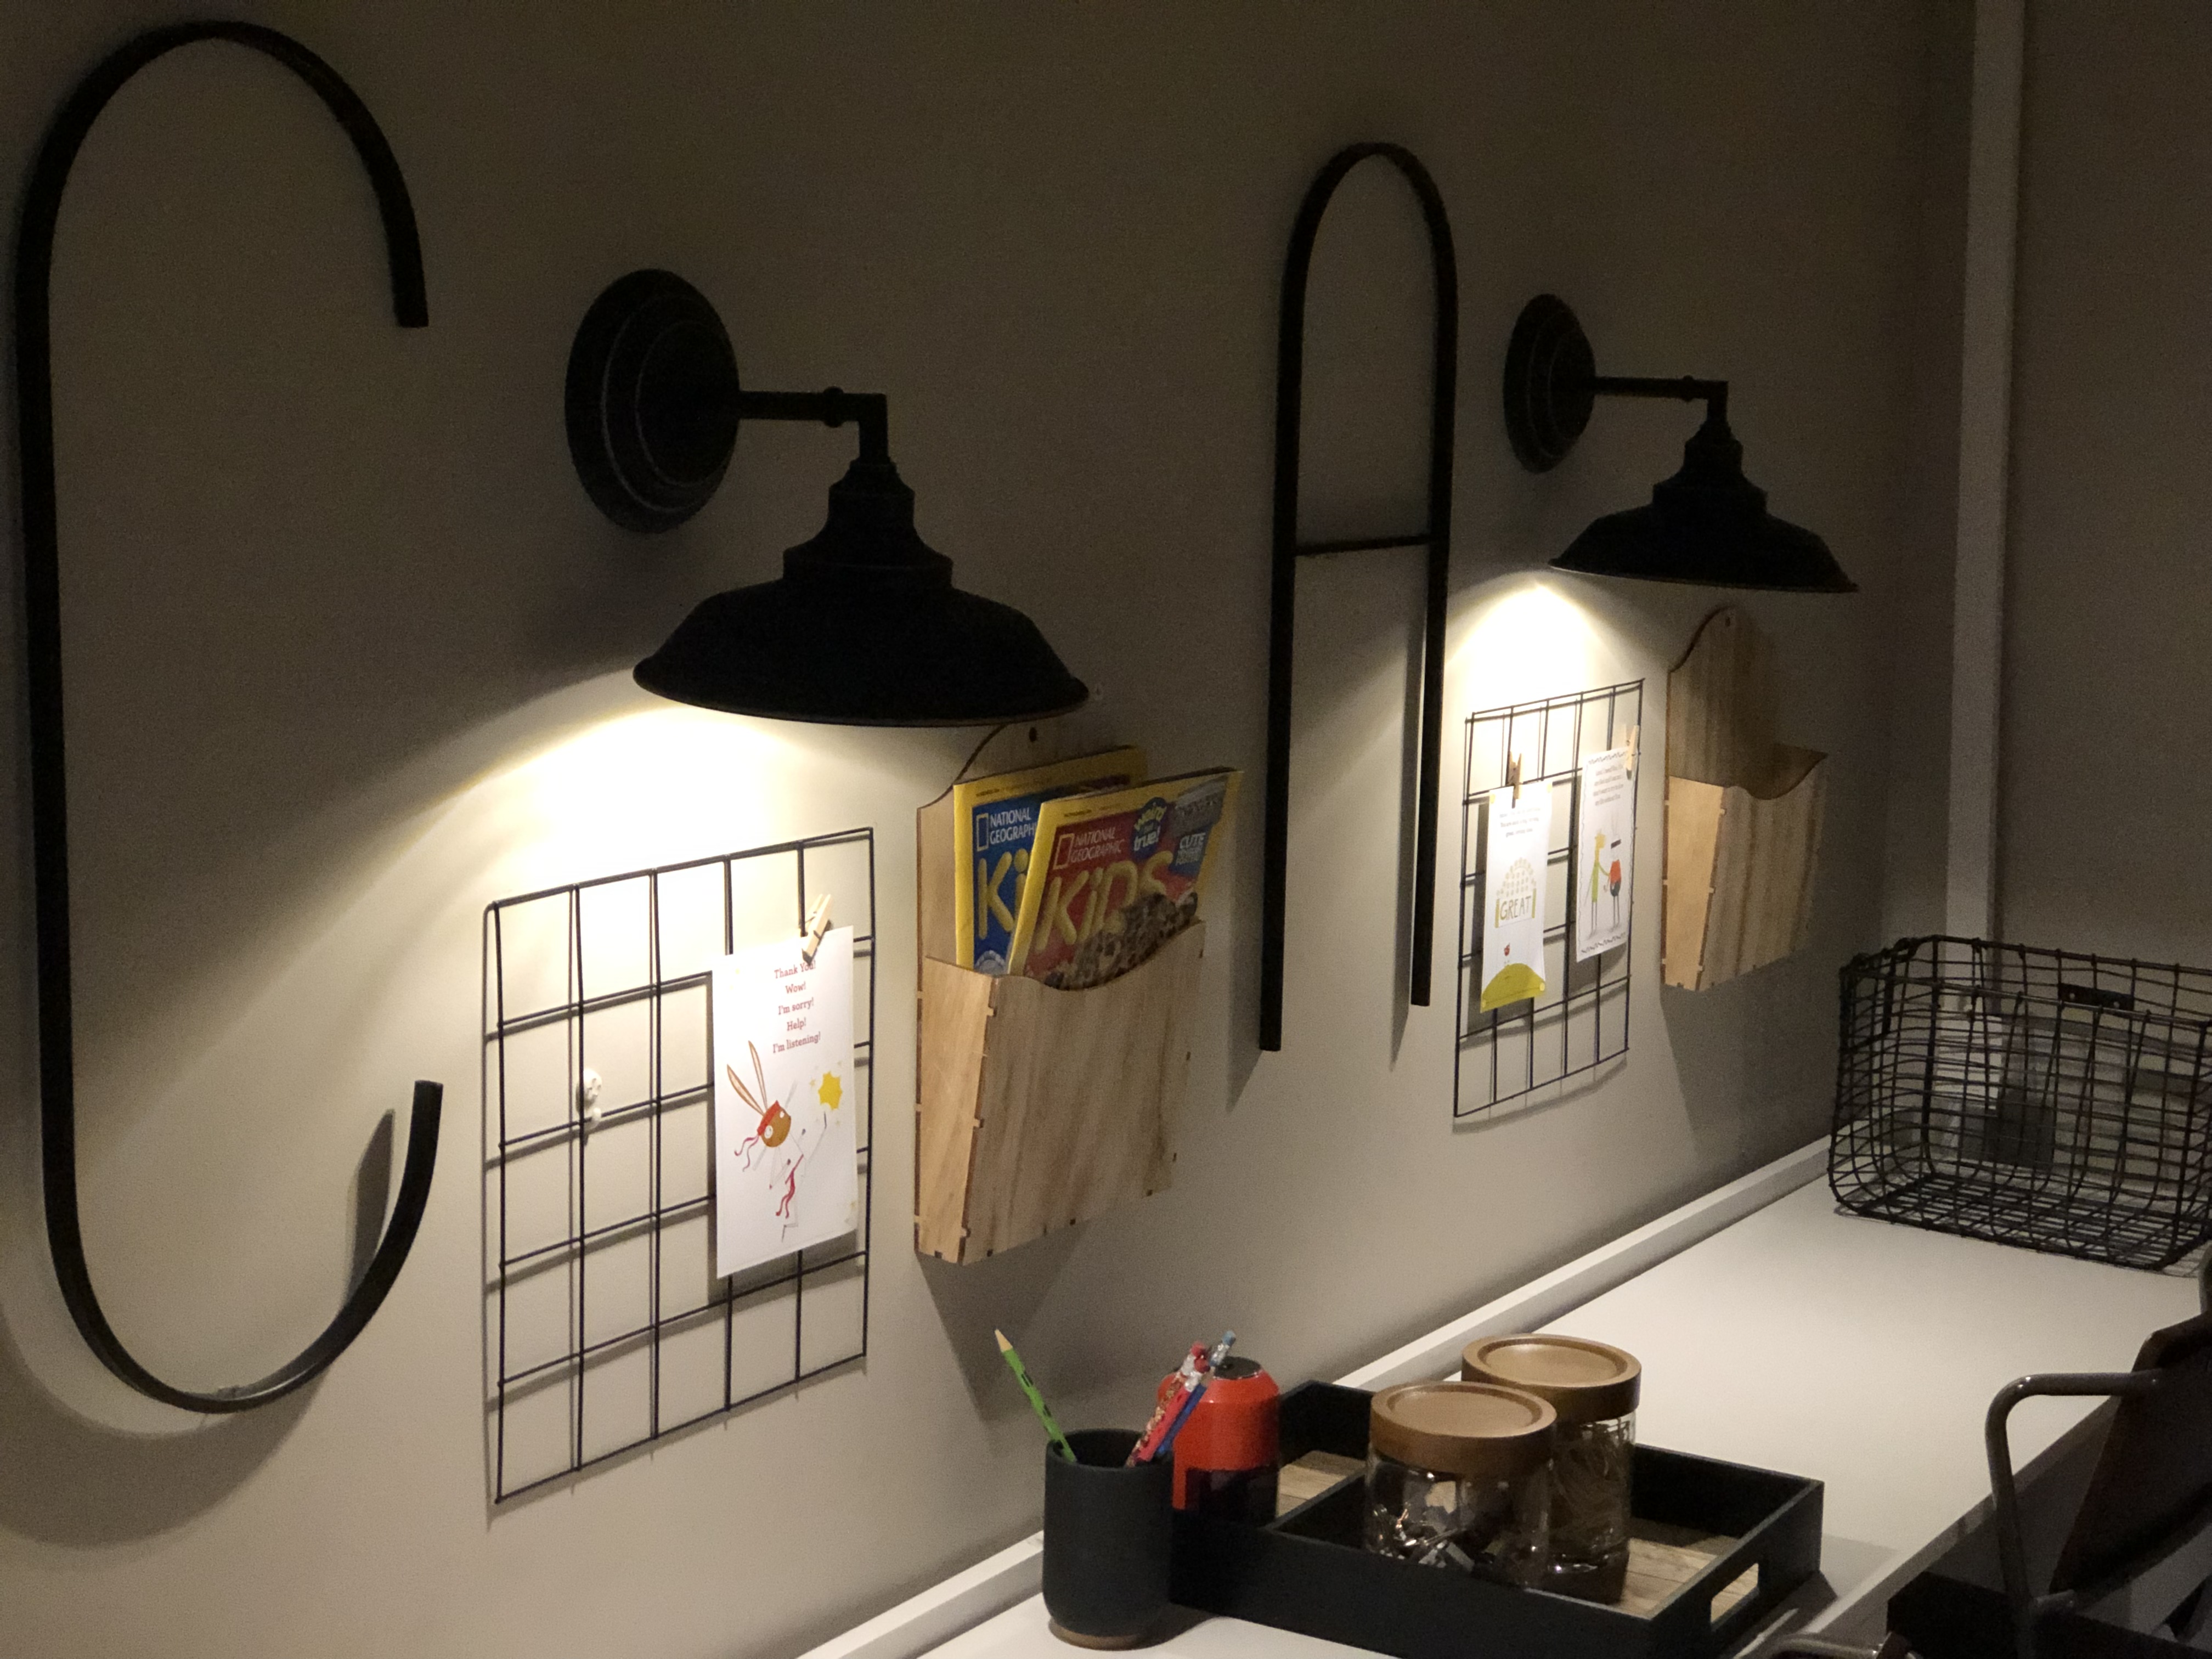
- And my FAVORITE! These lights from Amazon! (I will share more about these later this week.)
All other things (paper trays, etc.) were found on a whim at the Dollar Spot!
Here is the finished project! Super functional! And safe to say, a hit with the kiddos.


Leave a comment